24 Affordable Outdoor Kitchen Ideas for Easy Entertaining
Warm evenings, good food, and friends gathered outside make any backyard feel special, and affordable outdoor kitchen ideas prove a great setup does not need a big budget or a contractor. This collection brings together 24 simple projects that use portable grills, repurposed furniture, and clever storage to turn a patio, deck, or small yard into a place where cooking feels easy and guests feel welcome. Each idea focuses on low cost materials, weekend friendly builds, and layouts that work in rented homes as well as owned ones. Read through the list, pick the projects that fit your space, and start with one small change this weekend. By the end, your backyard will be ready for relaxed dinners, birthday cookouts, and quiet weeknight meals under the sky.
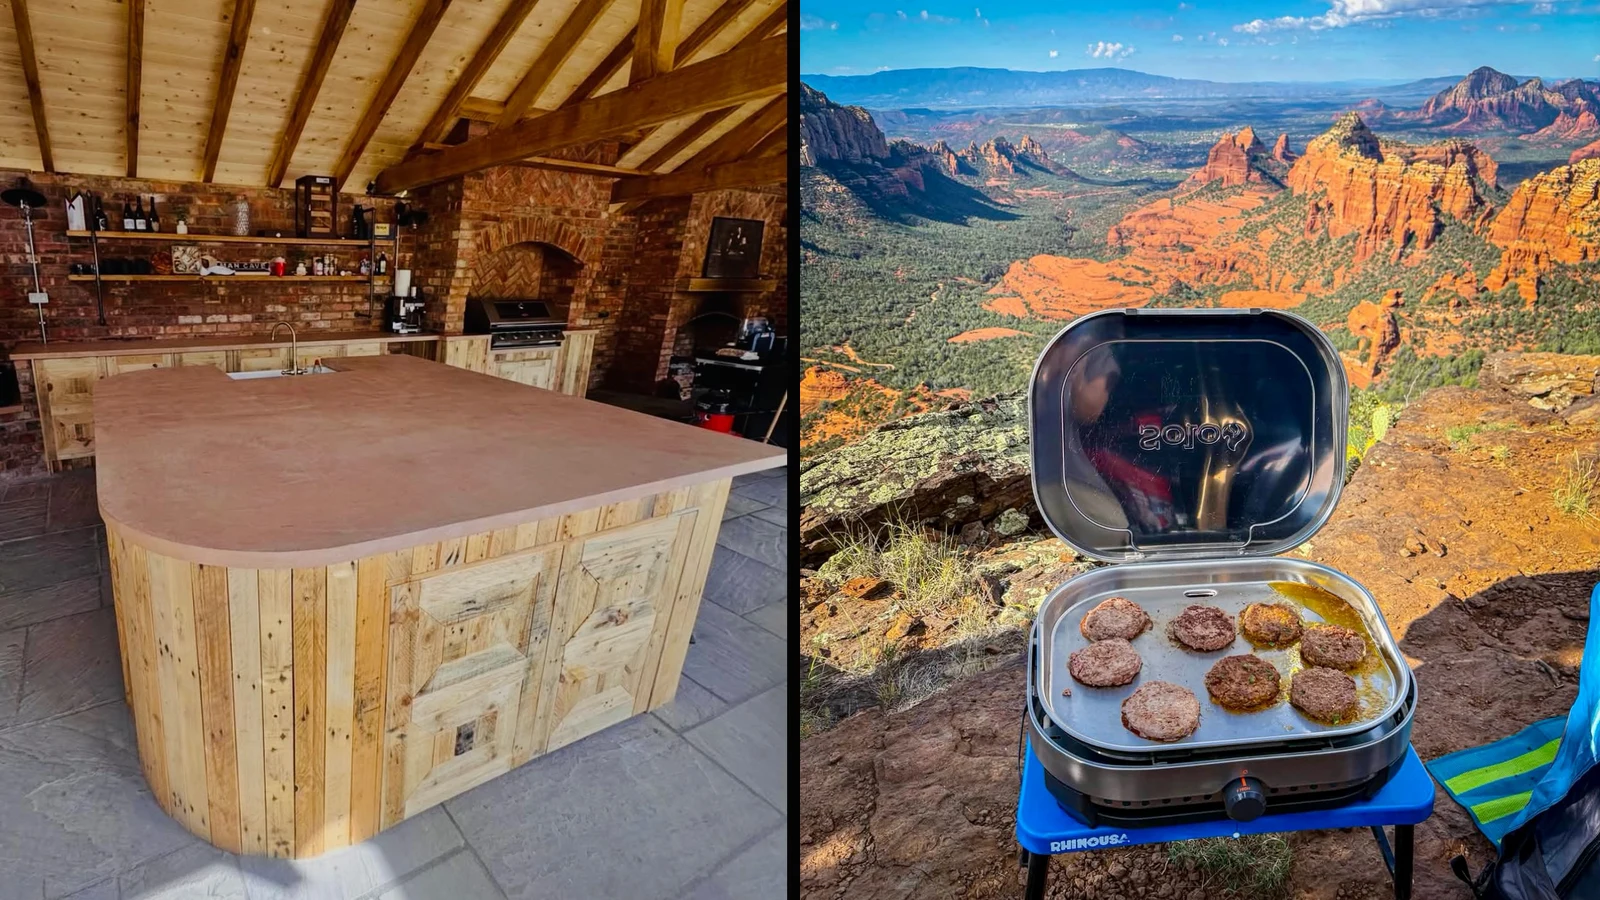
Portable Grill Station
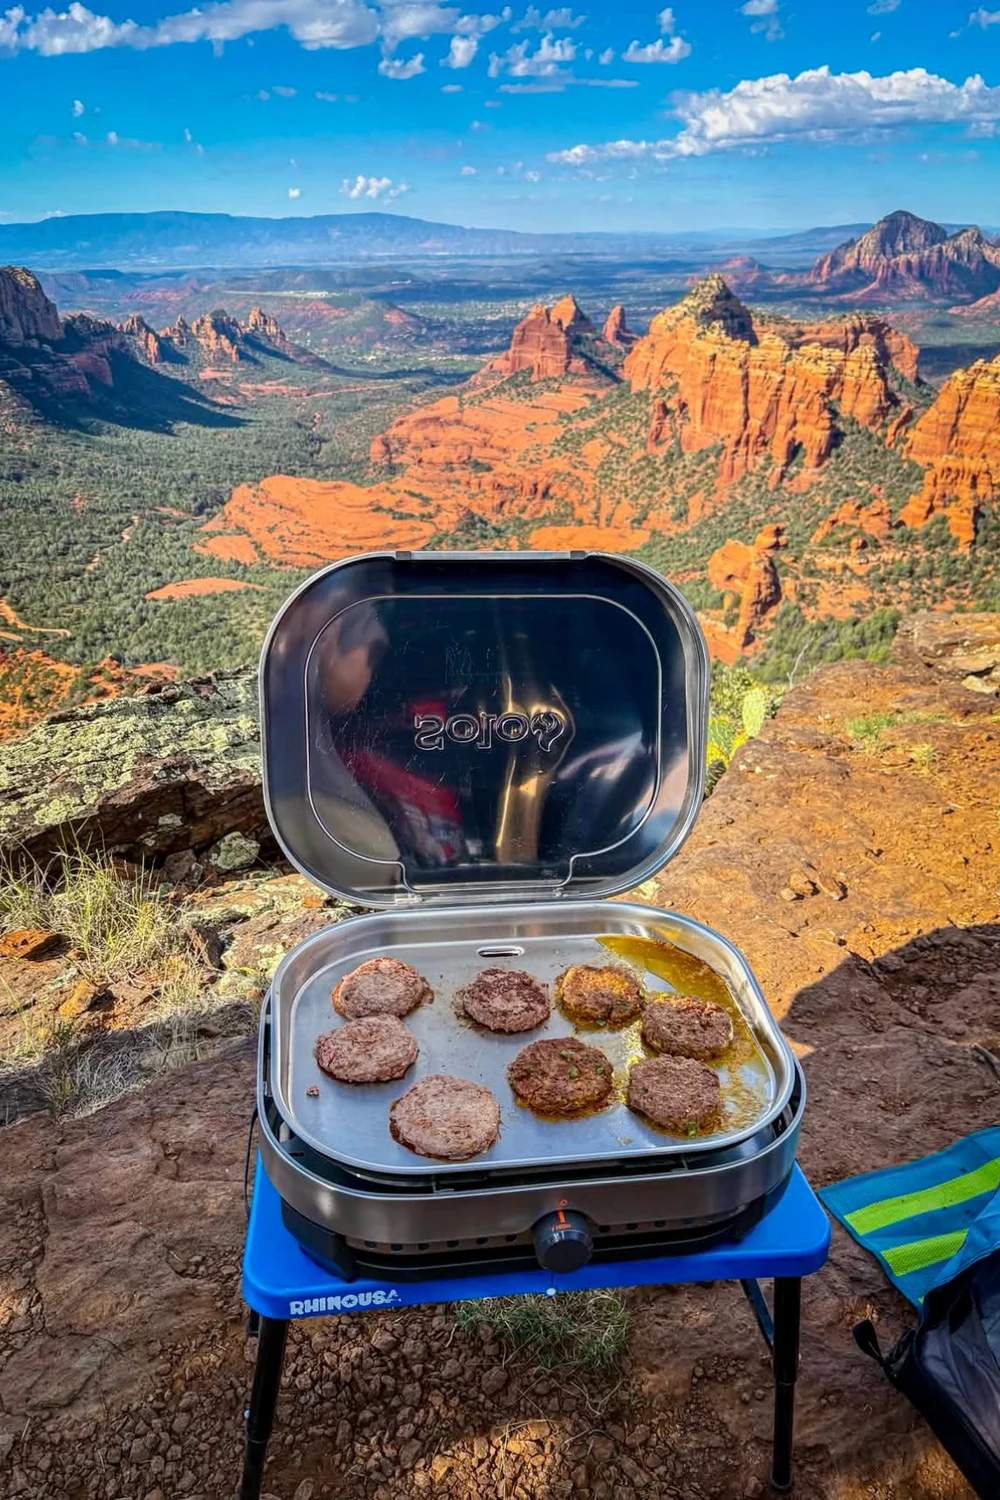
A portable grill on a rolling cart turns any patio corner into a cook station without a single built wall. Park it where smoke drifts away from seats, and keep a small side shelf nearby for tongs, plates, and a tray of marinating food.
When dinner ends, roll the cart against a wall or into the garage so the patio stays open. Cover the grill after it cools, and wipe the cart weekly to stop grease from building up. Renters love this setup, since nothing is fixed and the whole station can move along.
Cinder Block Counter
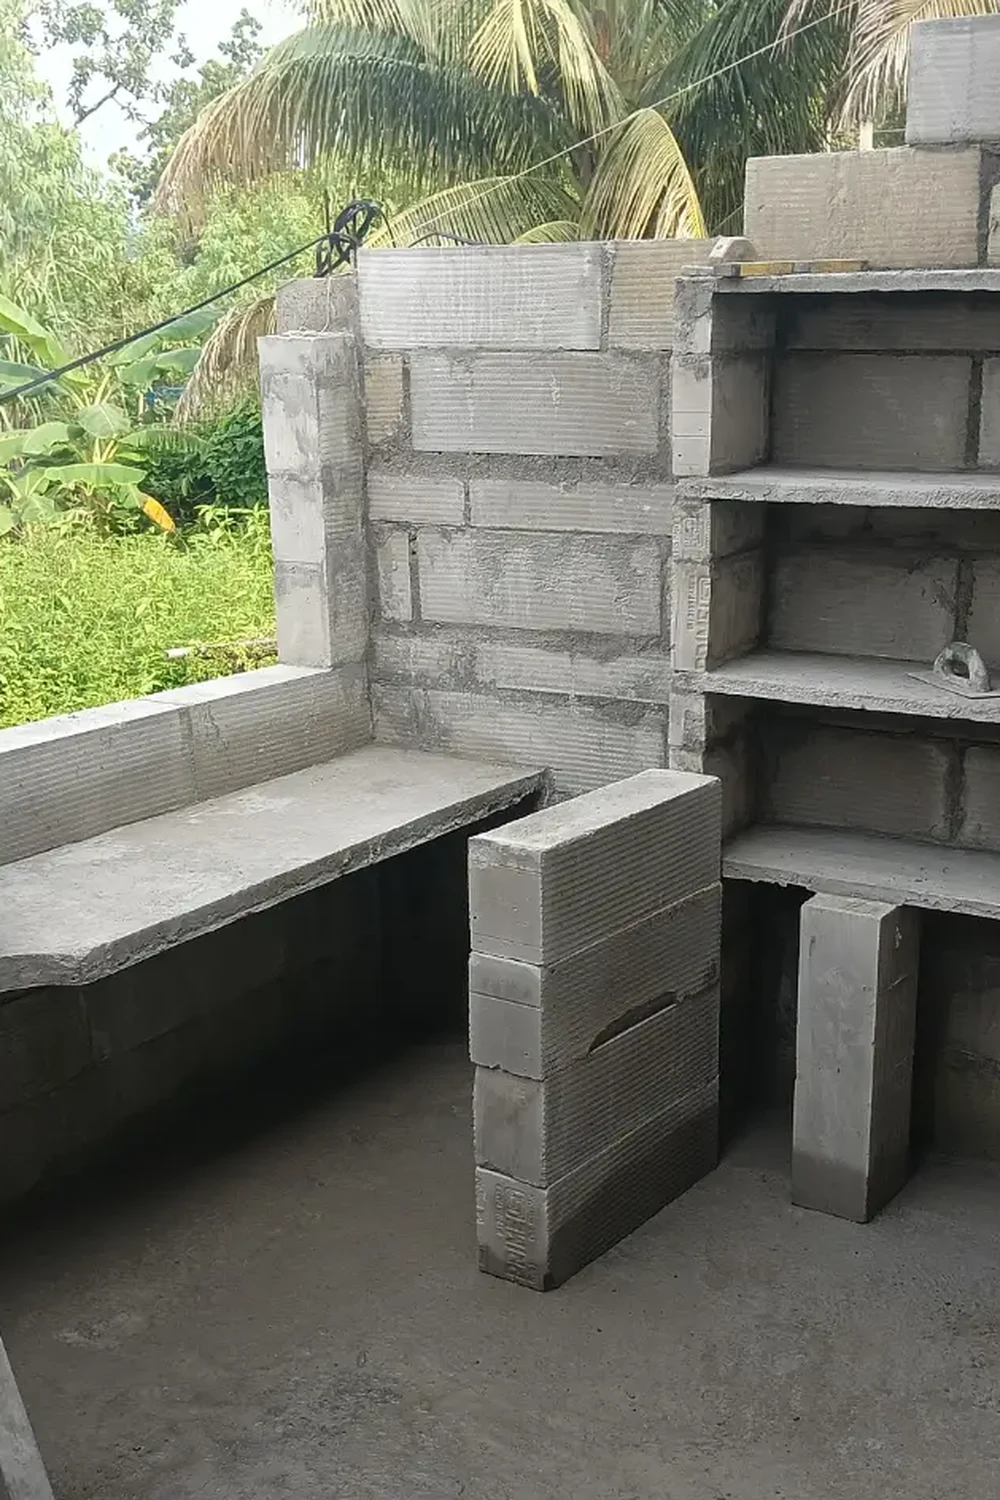
- Stack two columns of cinder blocks to form sturdy legs for the counter.
- Lay a sealed wood plank or a concrete paver across the top as the work surface.
- Leave one open cubby between the blocks for storing charcoal, wood, or tools.
- Paint the blocks with exterior masonry paint to match your patio style.
- Top the surface with a washable mat so prep and cleanup stay simple.
A cinder block counter costs very little, holds up in rain and heat, and comes apart fast when you want a new layout. Cooks who keep prep space near the grill waste fewer trips inside, which keeps guests fed and conversation flowing. Seal the top each season so stains wipe away easily.
Folding Prep Table
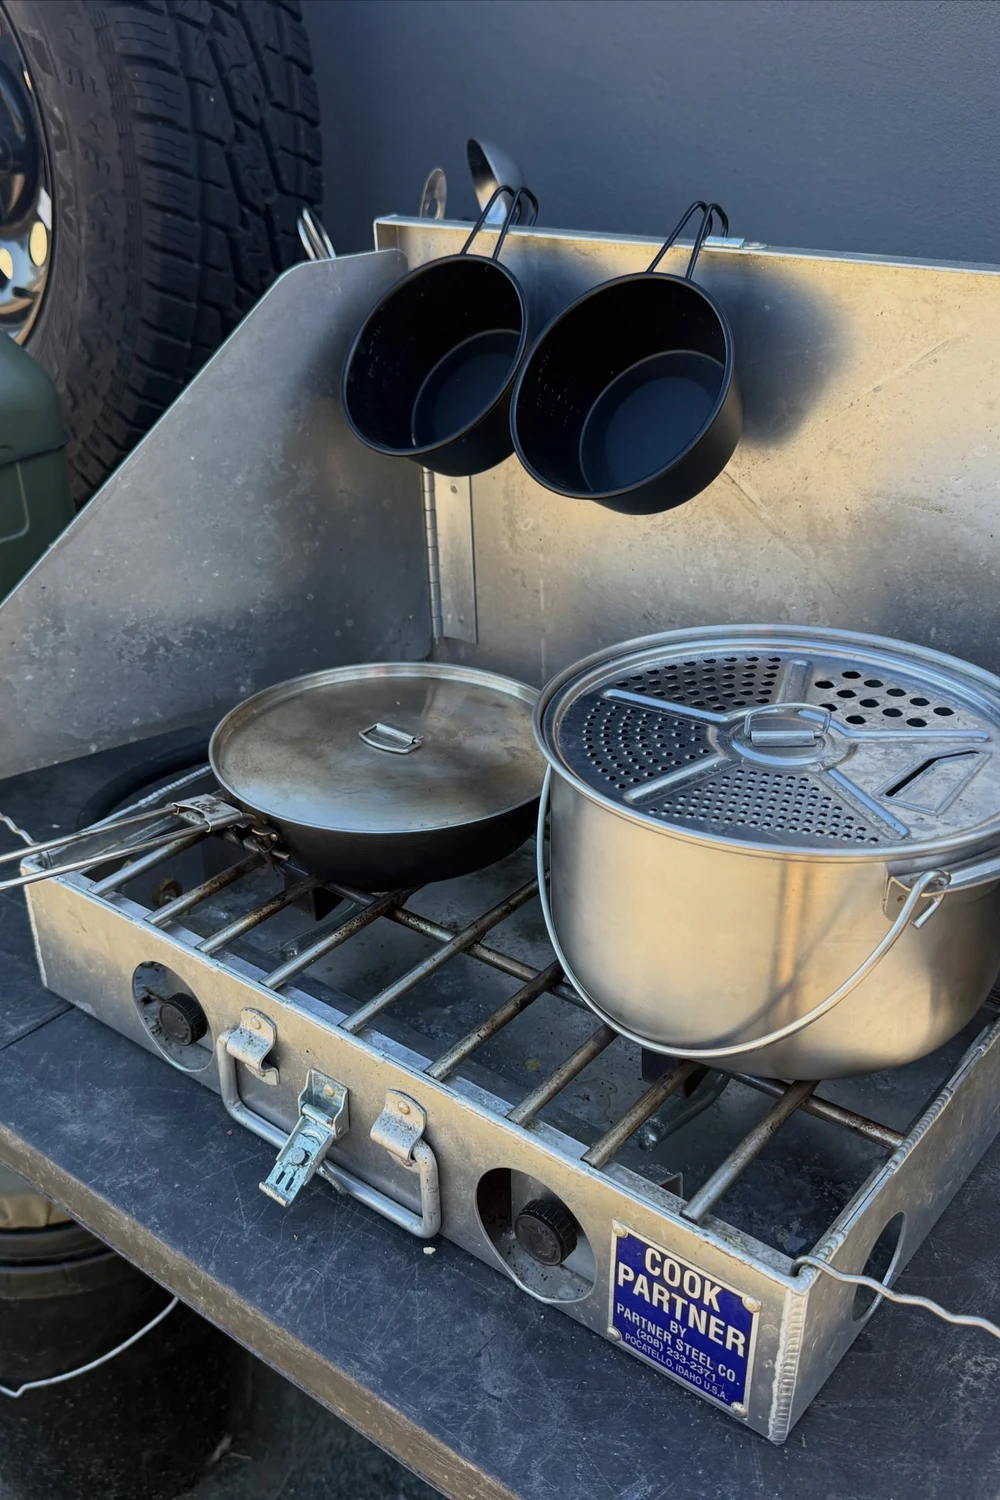
Quick Tip: Choose a table with a rust proof frame and a top you can scrub clean. Fold it flat after each cookout so it stores behind a door or under a bench.
A folding table gives you a second work surface exactly when you need it, then disappears when the party ends. Set it beside the grill for plating, or near the drinks table for snacks and sides. Add a small bin underneath for trash, and cleanup takes only a few minutes after guests leave.
Pallet Bar Cart
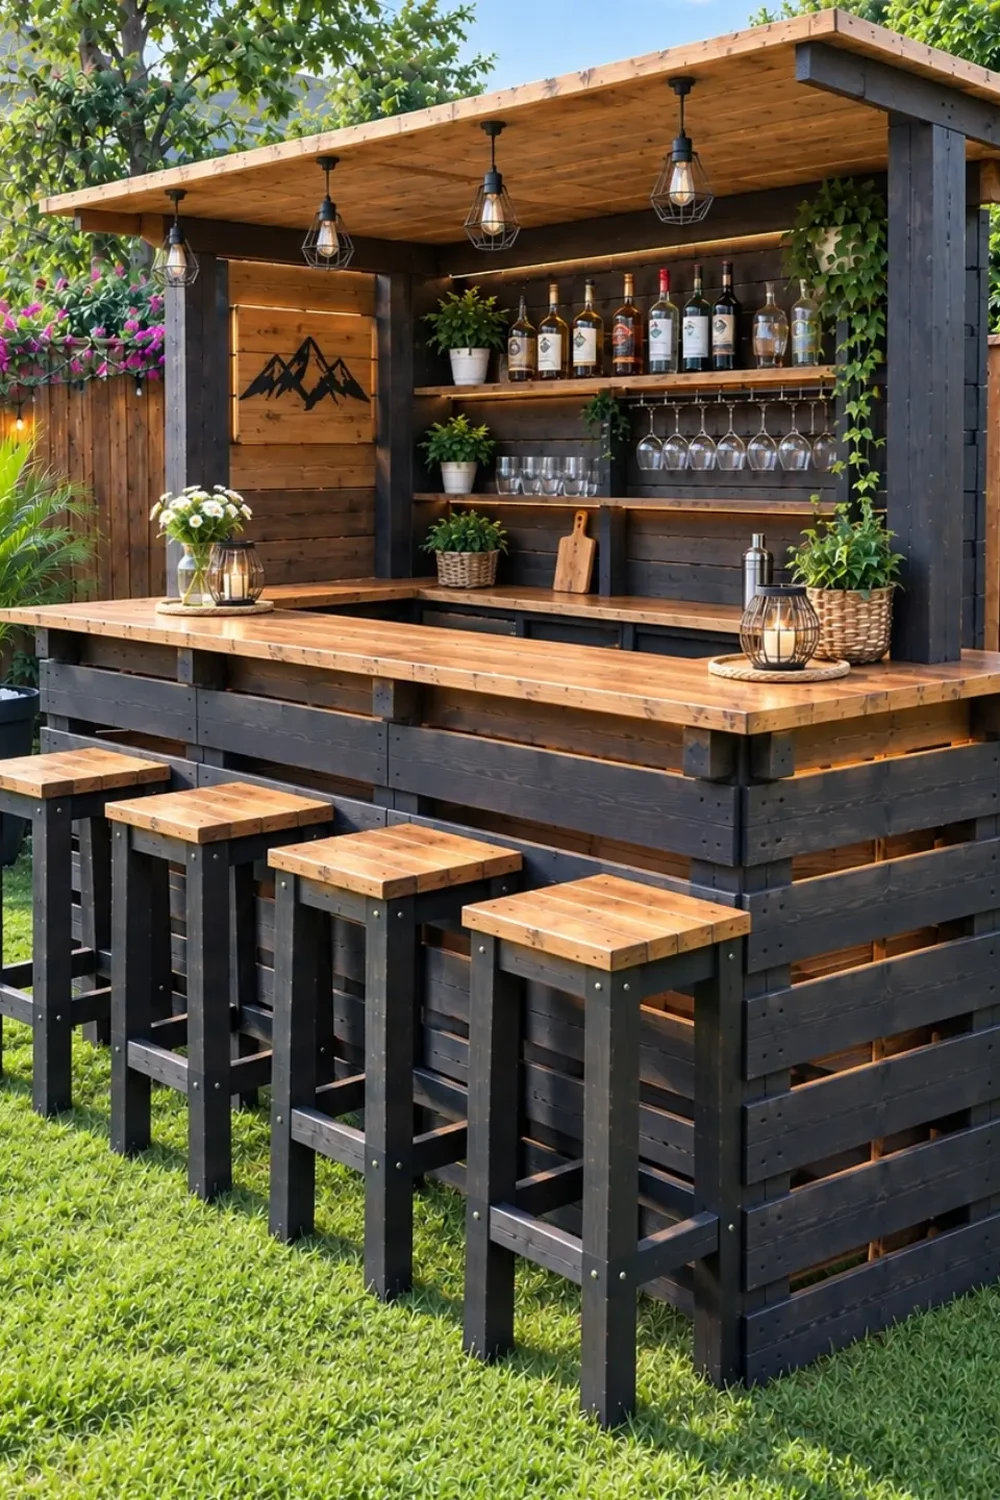
BEFORE: A bare patio corner with a cooler on the ground feels messy, and guests keep asking where the drinks are. Bottles roll around, glasses have nowhere safe to sit, and the host spends the evening fetching ice.
AFTER: A pallet cart on casters holds bottles, glasses, and a small ice bucket at serving height, with hooks on the side for a towel and a bottle opener. Guests serve themselves, the corner looks intentional, and the host finally gets to sit down.
Sand the pallet well, seal it against rain, and add locking casters so the cart stays put on a slope. A dark stain hides scuffs, while a light wash keeps the wood looking fresh through summer. Roll it near the grill during cookouts, then park it by the door for everyday use.
String Light Canopy
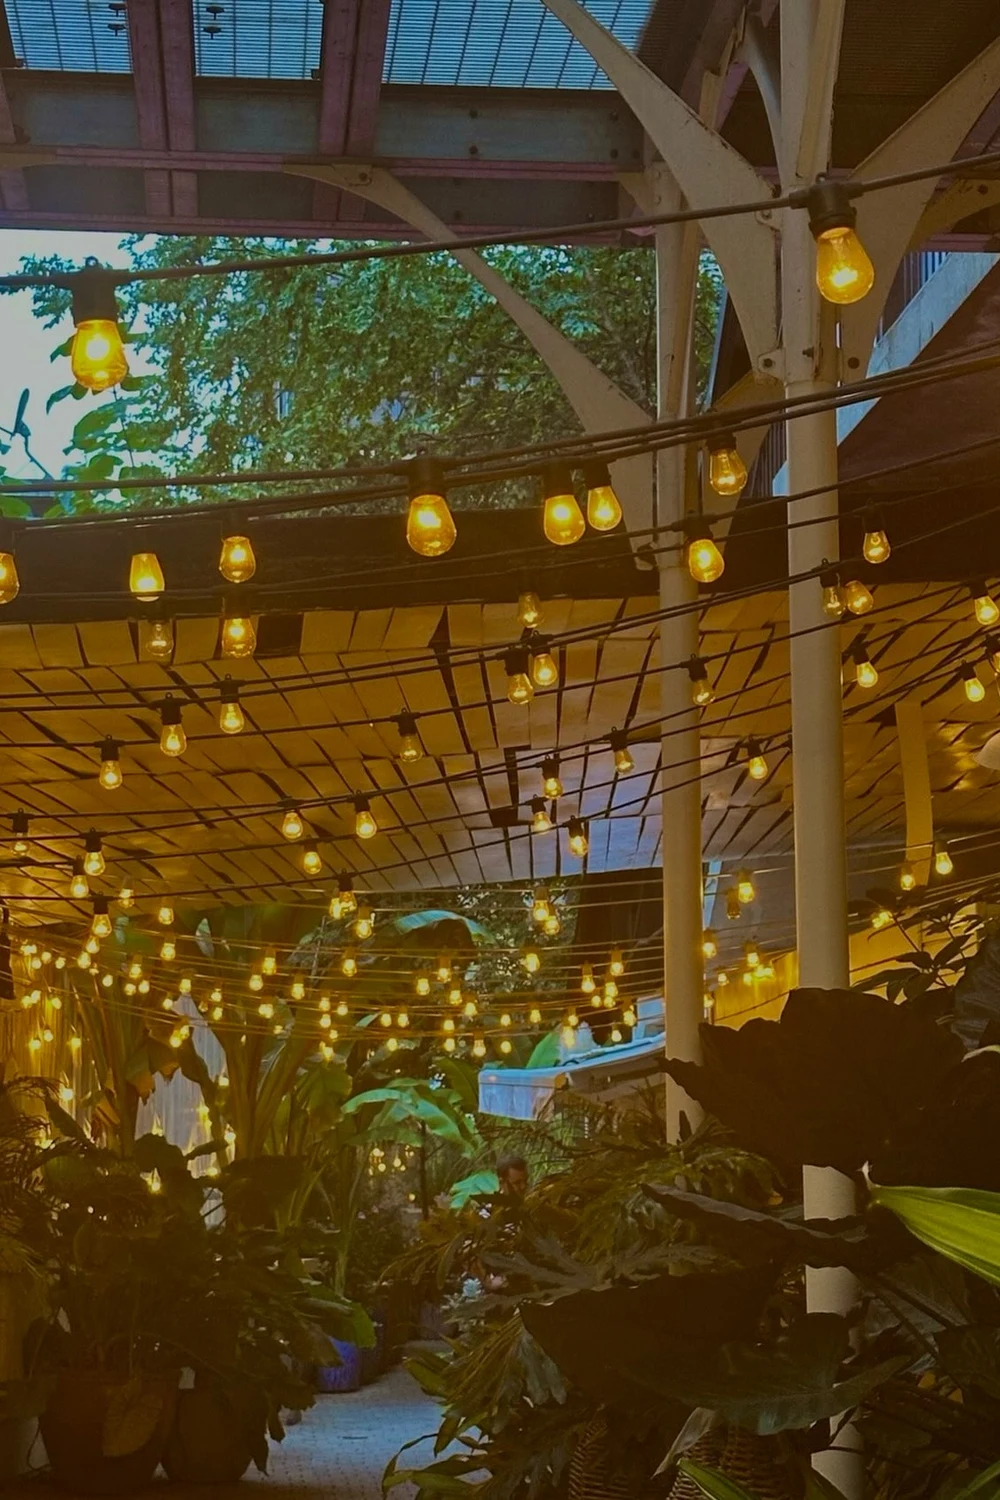
- Measure the area above your cooking and dining zones, then pick a strand length that spans it with gentle sag.
- Anchor screw hooks into a fence, a pergola beam, or sturdy posts set in planters.
- Hang the strands in a zigzag or fan pattern so light spreads evenly across the whole space.
- Connect the lights to an outdoor rated timer so they switch on at dusk without a second thought.
Warm string lights turn a plain patio into an evening gathering spot for very little money. They help the cook see the grill clearly after sunset, and they make the table feel festive without any extra decor. Choose shatterproof bulbs if kids or pets run through the yard.
Gravel Cooking Pad
| Feature | Gravel pad | Paver pad |
|---|---|---|
| Cost | Low | Medium |
| Drainage | Fast | Good with gaps |
| Comfort | Crunchy underfoot | Smooth and firm |
| Install time | One afternoon | One weekend |
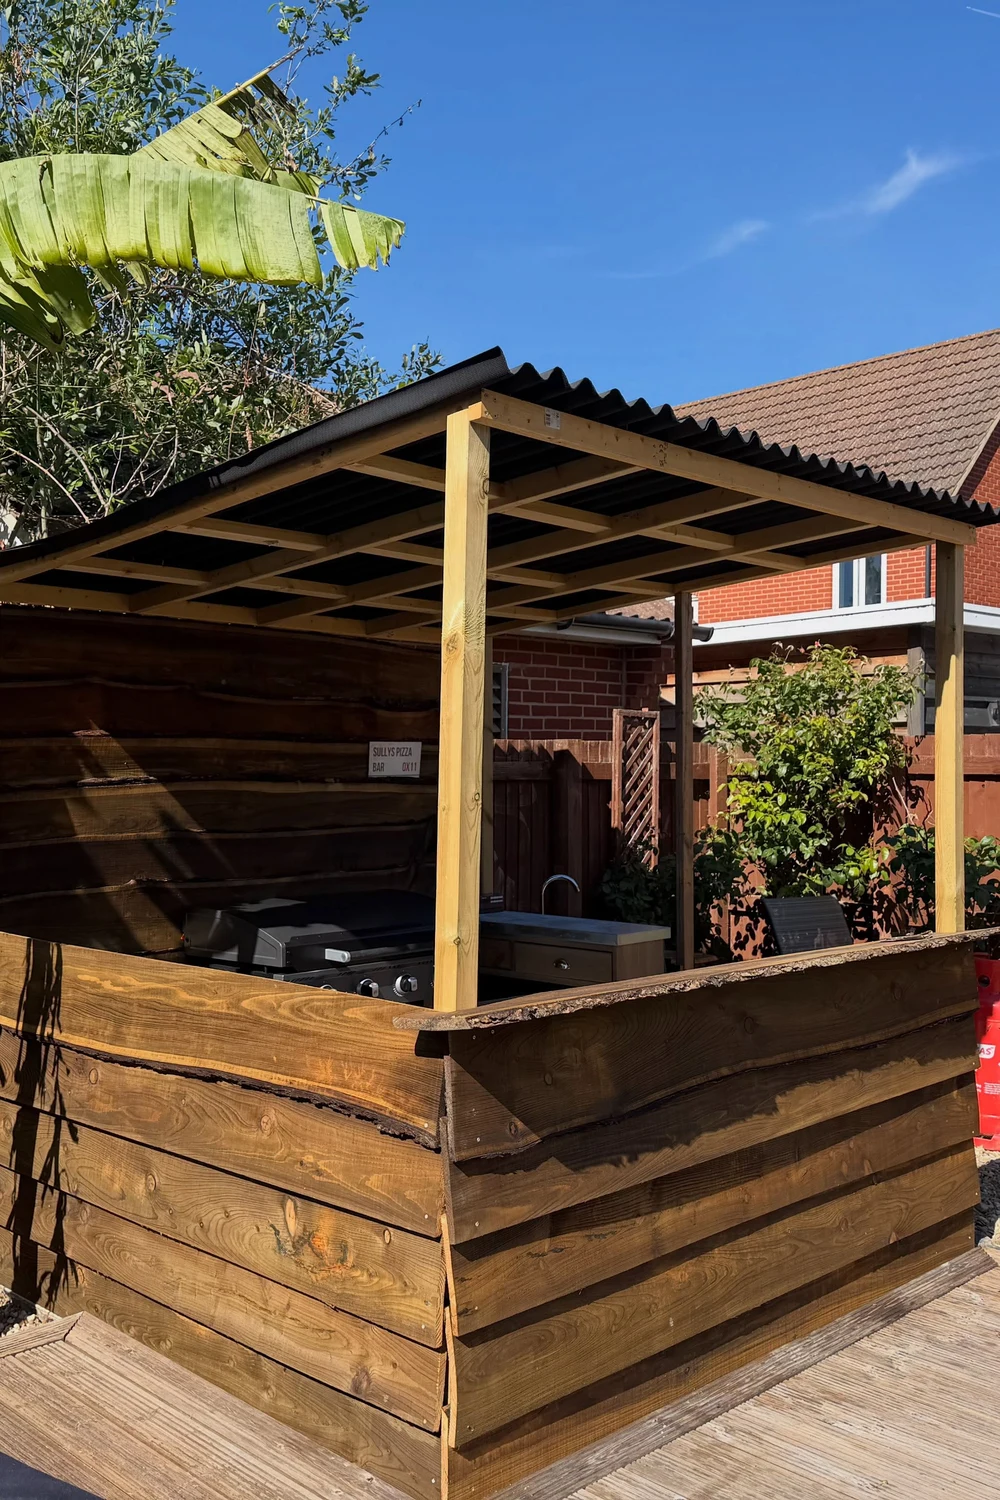
A defined pad keeps the grill steady, stops grass from wearing into mud, and marks the cooking zone for guests. Edge it with steel or stone strips so gravel stays put, and rake it level once a month. The result feels like a real outdoor room for the price of a few bags of stone.
Cooler Drink Station
DO:
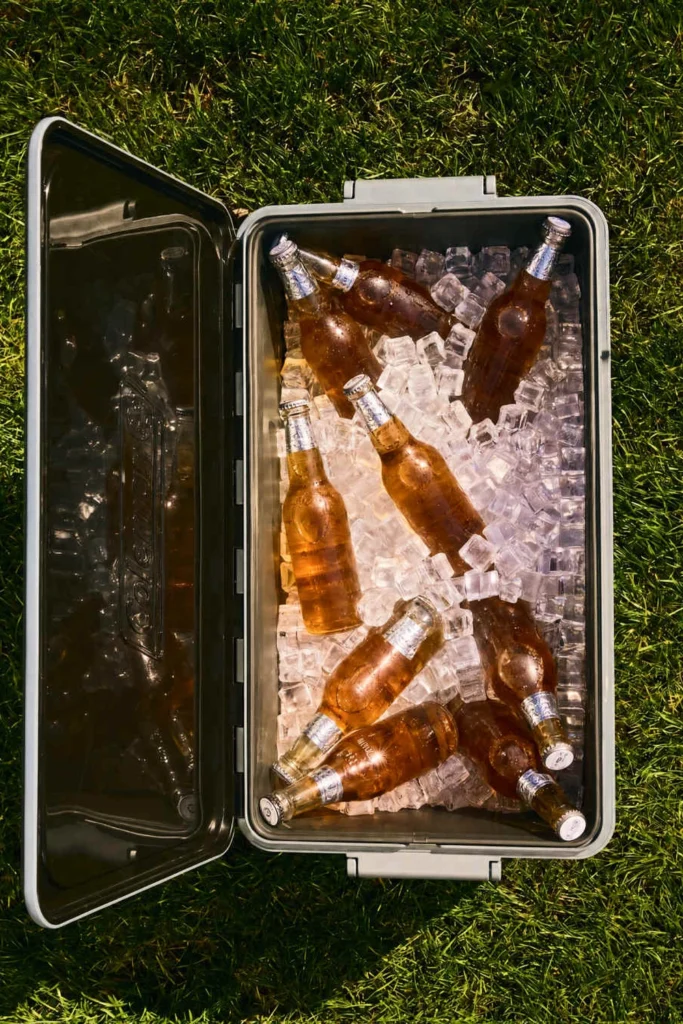
- Set the cooler in shade so ice lasts through the whole evening.
- Add a small side table for cups, napkins, and a bottle opener.
- Label drinks with a chalk tag so guests find favorites fast.
DON’T:
- Don’t place the cooler on grass that turns muddy underfoot.
- Don’t forget a towel for drips and a bin for empties.
- Don’t block the path between the grill and the dining table.
A tidy drink station keeps guests out of the kitchen and lets the host stay at the grill. Stock it before guests arrive, refill ice once during the evening, and the whole system runs itself. By the end of the night, cleanup means one trip with the cooler and a quick wipe of the table.
Herb Wall Planters
Cost: Under 40 dollars for planters, soil, and starter plants.
Time: About one hour to hang and plant.
Skill Level: Beginner friendly, no tools beyond a drill.
Best For: Small patios and cooks who love fresh flavor.
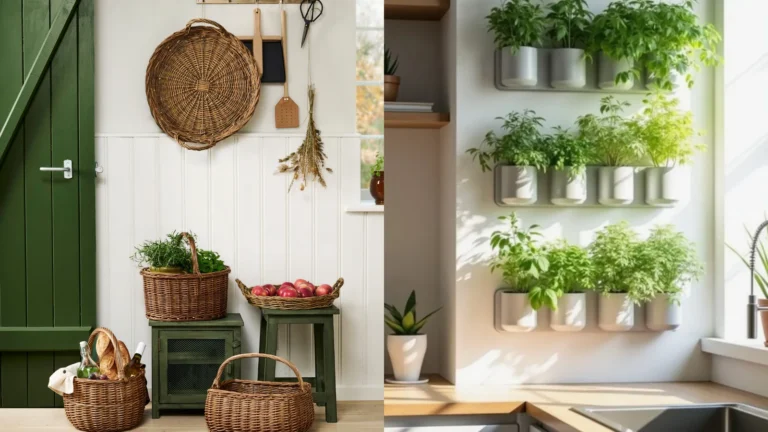
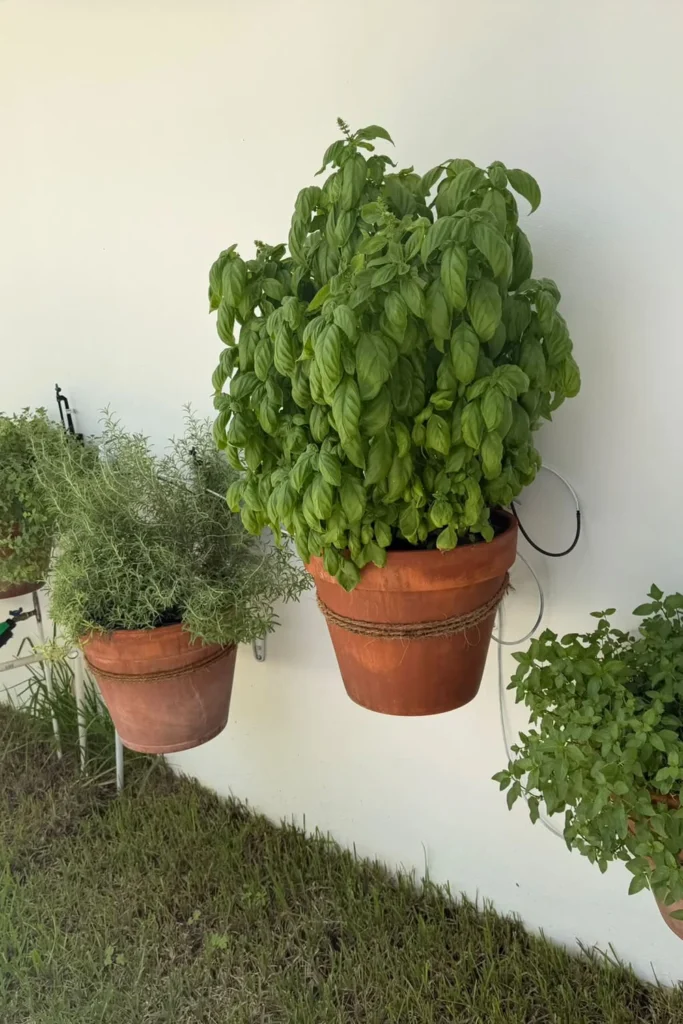
Fresh herbs steps from the grill change weeknight cooking, since snipped basil and mint beat dried jars every time. Hang planters on a sunny fence or wall, water them on a regular schedule, and trim often so plants stay bushy. Guests love picking their own garnish, which turns dinner into a small shared ritual.
DIY Pizza Oven
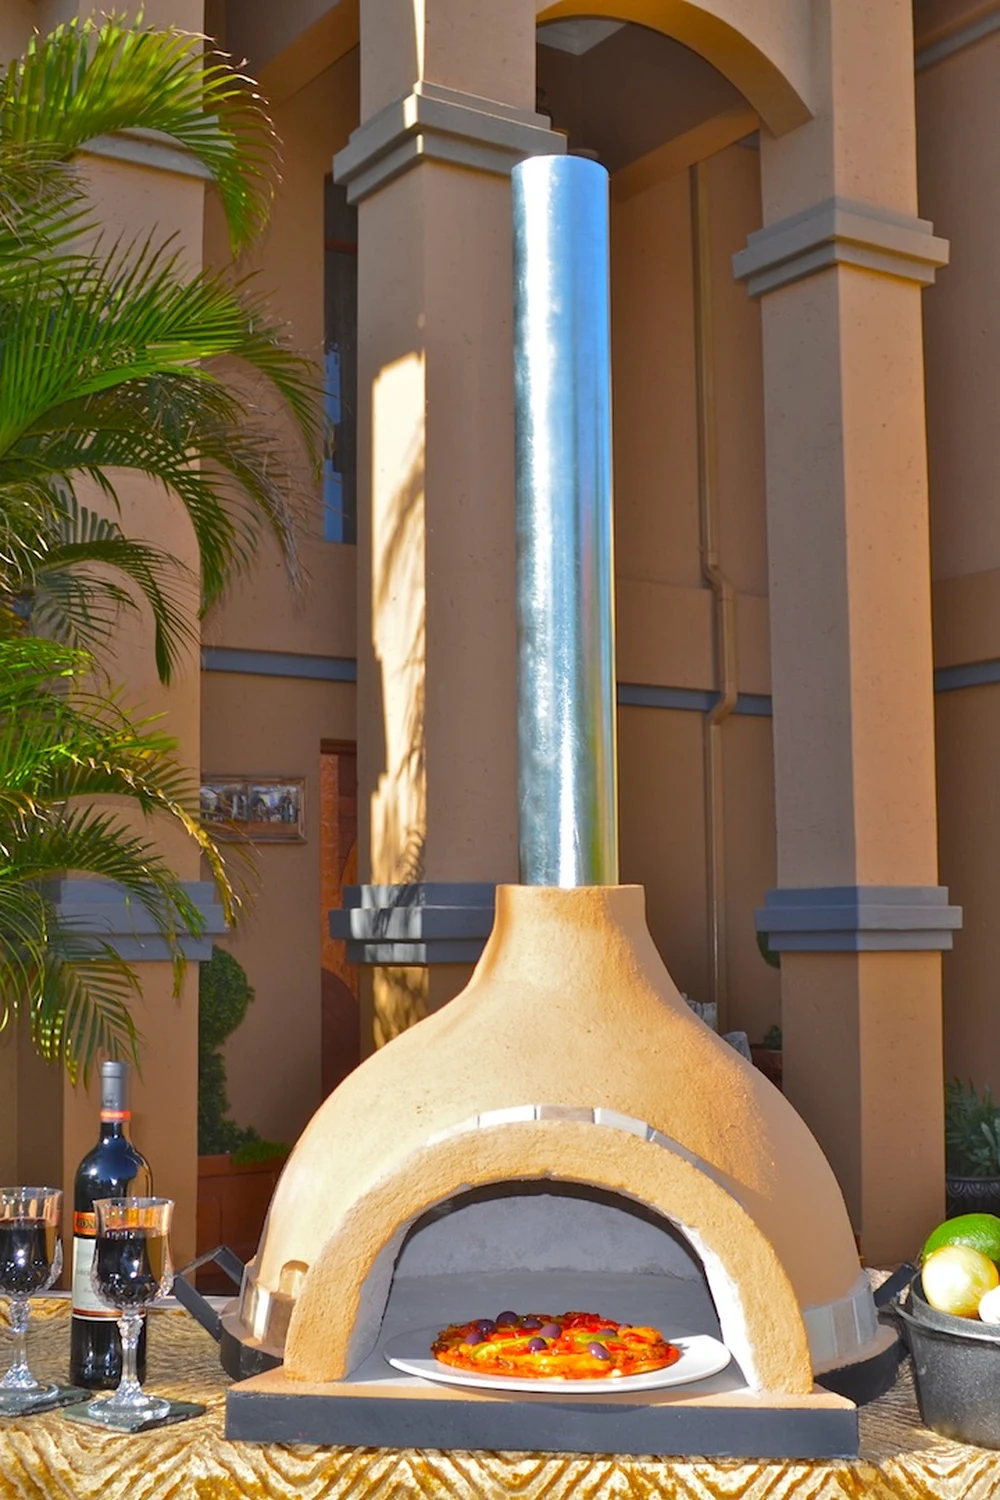
A small clay or brick pizza oven sounds like a luxury project, yet a simple dome from fire bricks and mortar costs far less than a store bought model. Keep the footprint near the size of a large grill, and build it on a block base so the cooking floor sits at waist height.
Fire the oven an hour before guests arrive so the floor heats evenly, then slide pizzas in with a wooden peel. One oven feeds a crowd fast, since each pie cooks in minutes. Scrape out ash after cooling, and cover the dome when rain threatens.
Shade Sail Dining
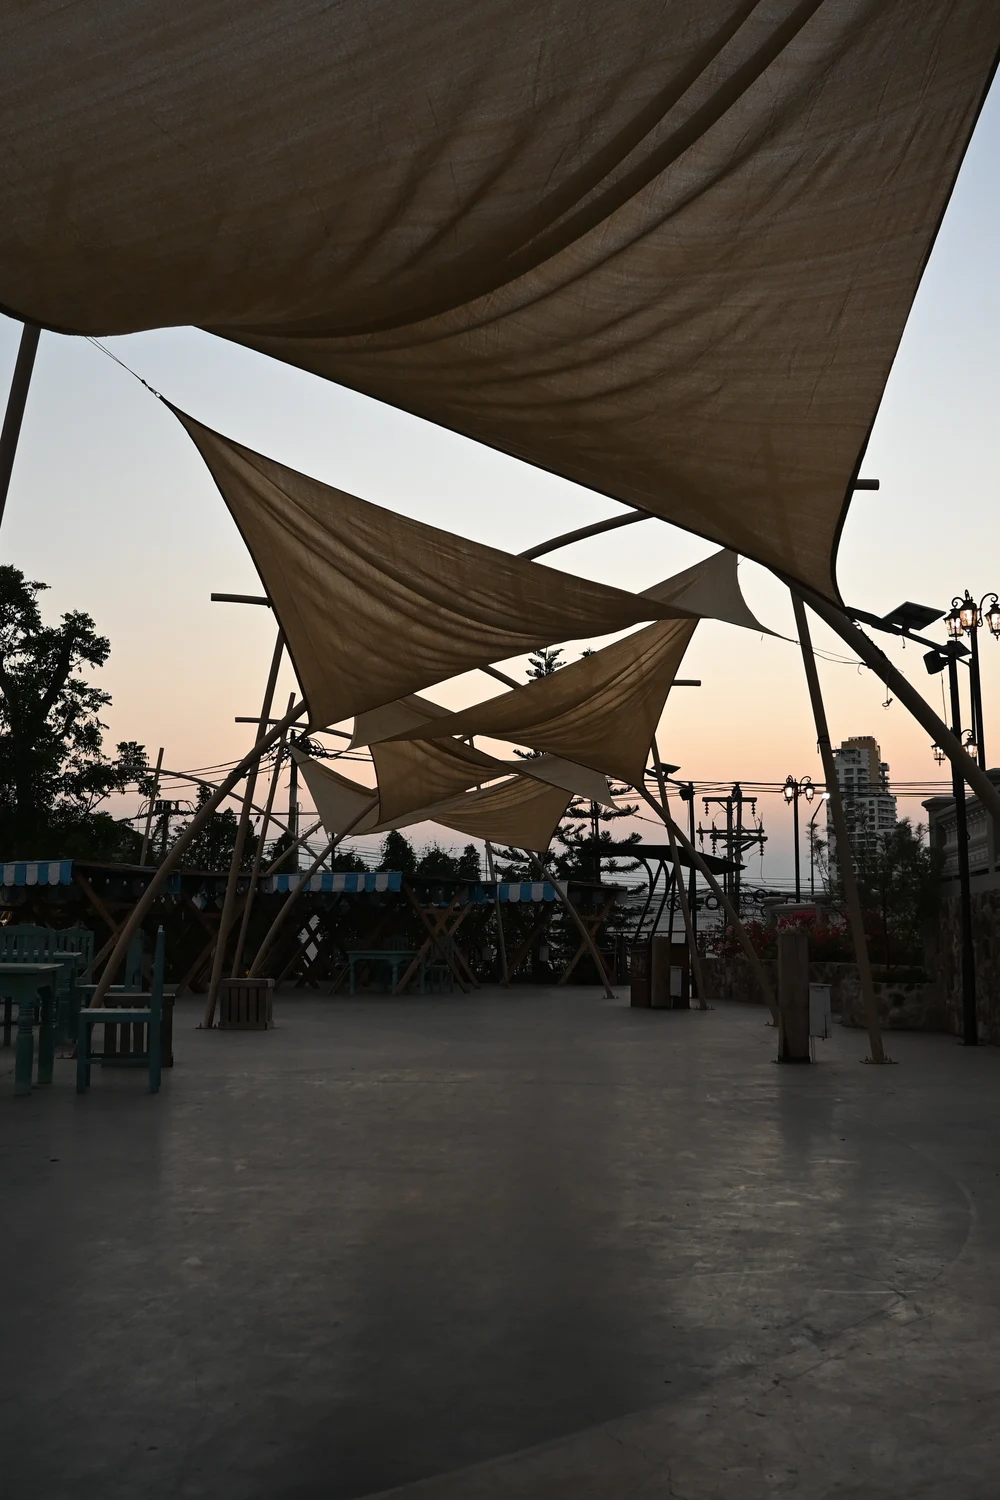
- Measure the dining area and pick a sail that covers the table plus a little extra.
- Anchor each corner to a house wall, a tree, or a post set in concrete.
- Angle the sail slightly so rain runs off instead of pooling in the middle.
- Choose a breathable fabric that blocks sun while letting hot air escape.
Shade turns a hot patio into a dining spot guests actually enjoy at midday. The table stays cooler, food holds up longer, and everyone lingers instead of retreating indoors. Take the sail down before heavy storms, and it will last through many summers of cookouts.
Repurposed Cabinet Run
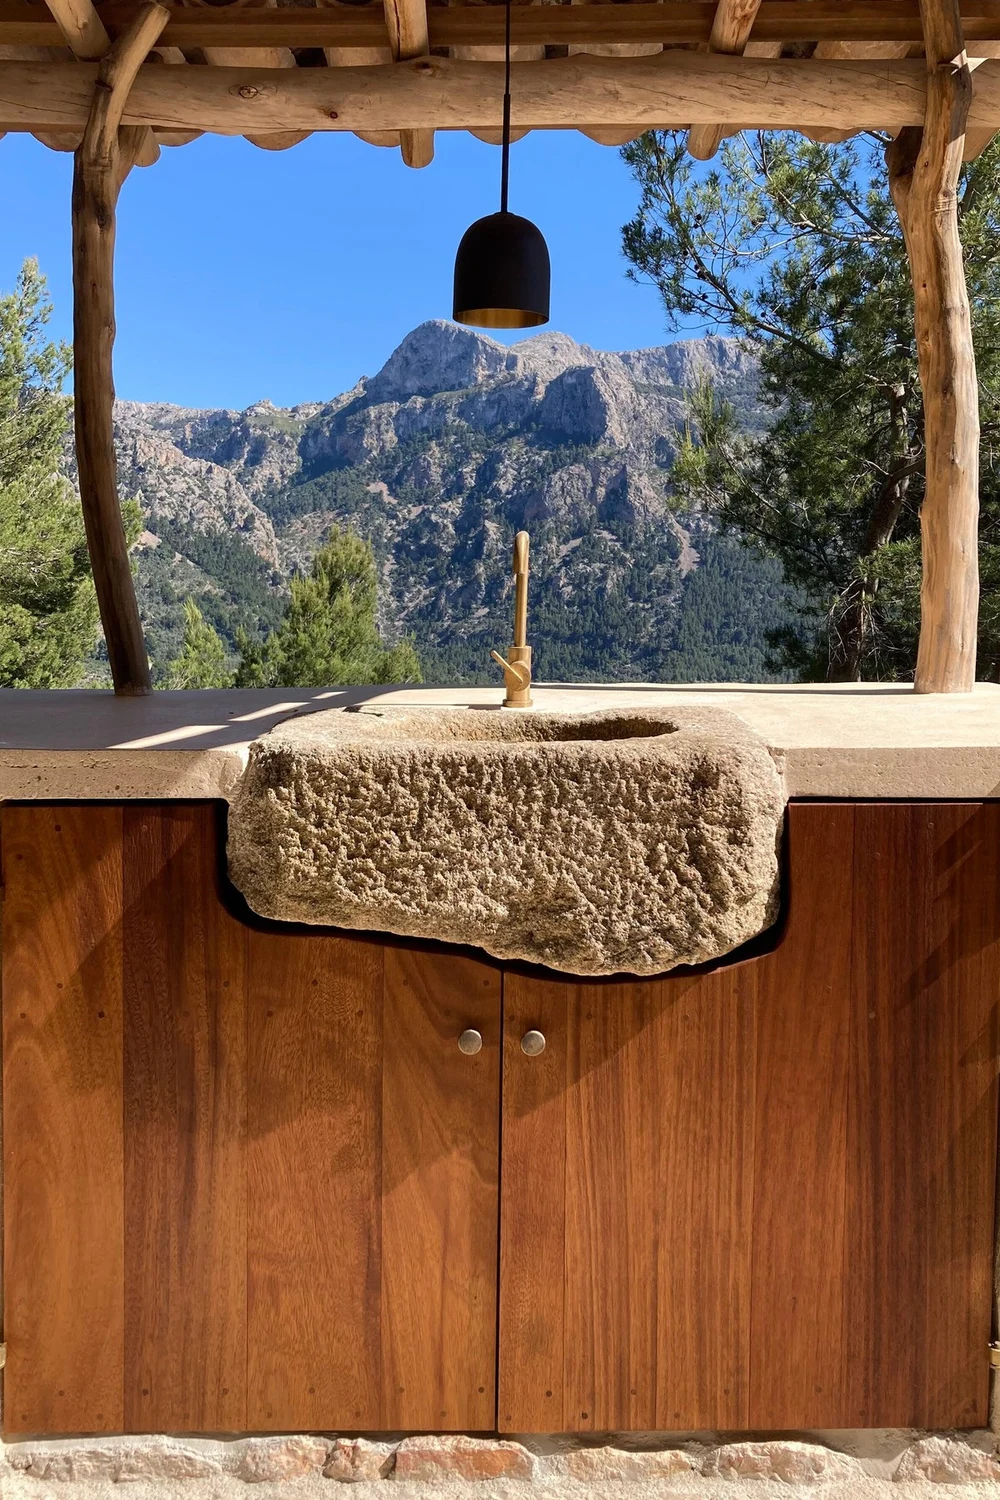
Quick Tip: Look for solid wood cabinets at thrift stores or salvage yards, and check that doors close well before buying. A coat of exterior paint and new handles make old cabinets look made for the patio.
Old kitchen cabinets give an outdoor cook space real storage for plates, tools, and dry goods without the price of new ones. Set them on a level paver base, seal every edge against moisture, and top them with a slab. The result looks custom, yet the run can cost less than one new cabinet.
Fire Pit Grill
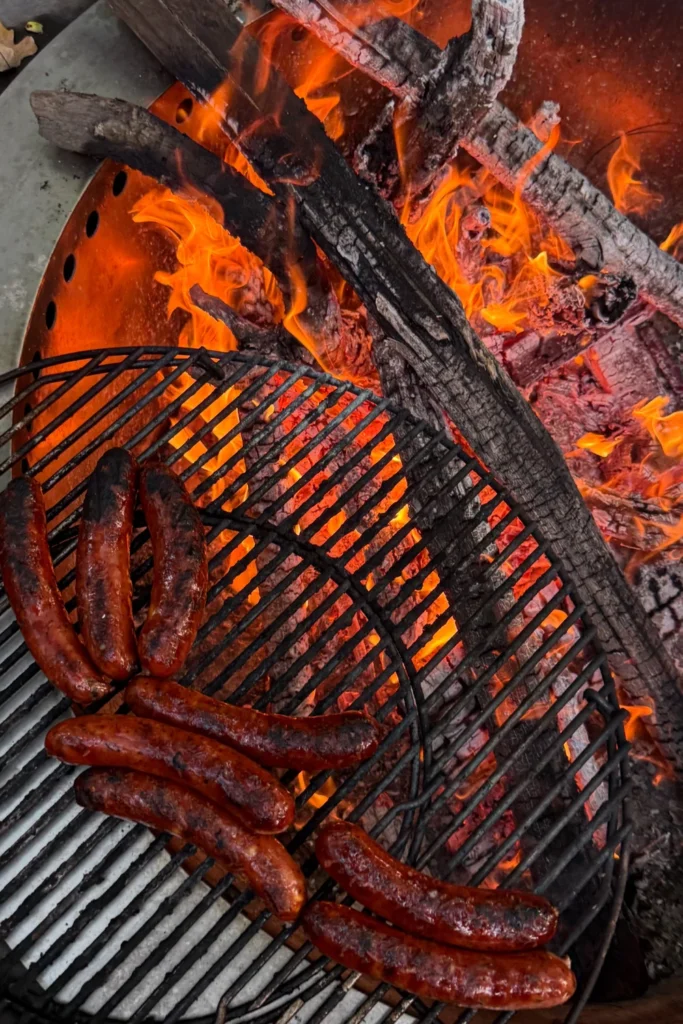
BEFORE: Evenings in the yard used to end early, since guests drifted inside once the food was gone and the air cooled. The grill sat cold, and the patio felt empty by nine.
AFTER: A fire pit with a grill grate keeps the evening going, since guests gather around the flames for dessert, drinks, and stories. Skewers and foil packets cook right over the coals while everyone stays warm and together.
Pick a pit with a grate that lifts off for easy cleaning, and keep a bucket of sand nearby for safety. Burn only dry hardwood so smoke stays light, and check local rules before the first fire. A pit like this doubles as a heater, a cooker, and the best seat in the yard.
Rolling Kitchen Island
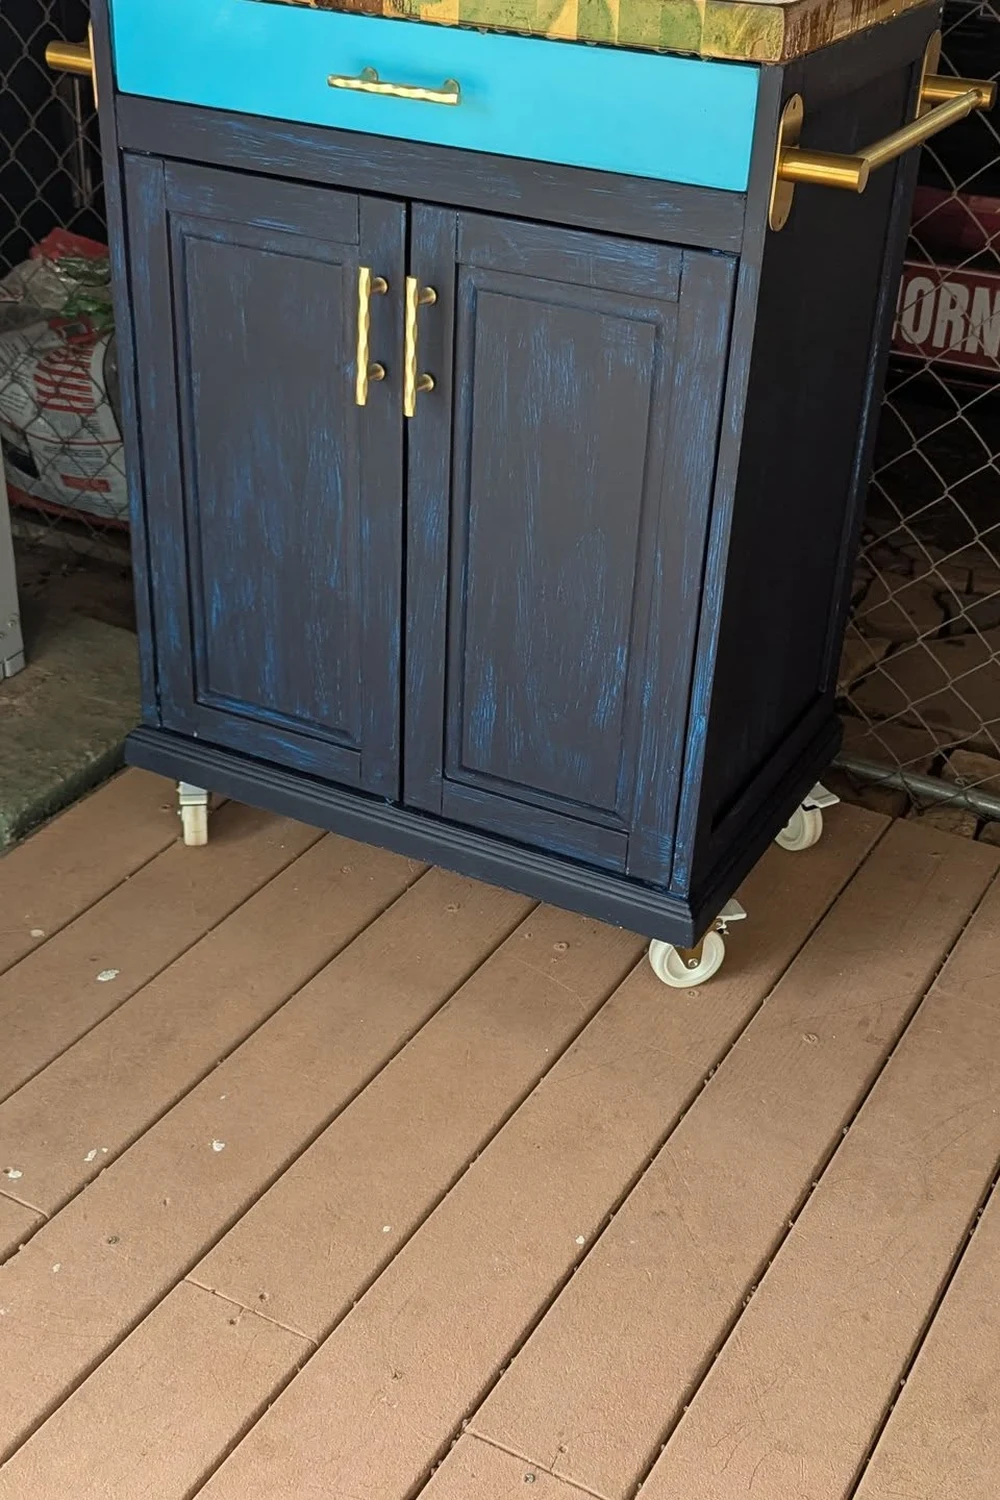
- Start with a sturdy cart or a small workbench, and add locking casters if it lacks wheels.
- Mount a towel bar on one side and hooks on the other for tongs and mitts.
- Add a lower shelf for pots, and a top surface that wipes clean in seconds.
- Park the island beside the grill while cooking, then roll it to the table for serving.
A rolling island solves the biggest outdoor cooking frustration, which is never having a free surface at the right moment. It carries ingredients out, holds finished plates, and rolls away when the yard needs space for games. Wipe it down after each use, and it stays ready for the next cookout.
Concrete Countertop Slab
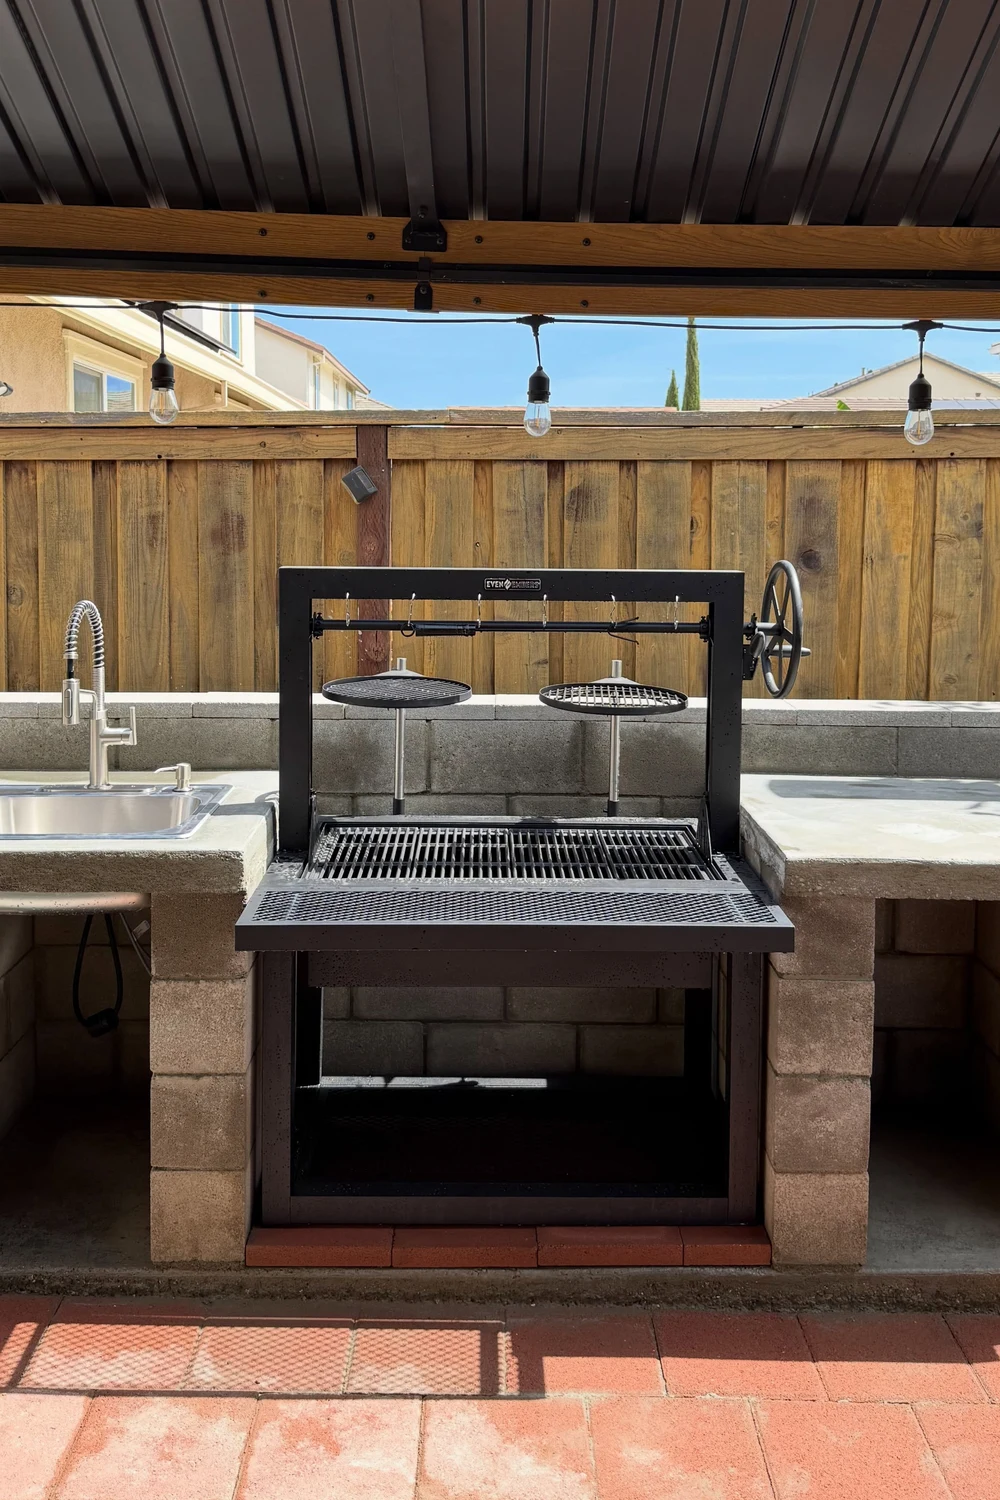
| Feature | Poured slab | Paver top |
|---|---|---|
| Cost | Low | Low to medium |
| Look | Smooth and modern | Rustic and textured |
| Weight | Very heavy | Lighter pieces |
| Repair | Hard to patch | Swap one paver |
A concrete slab gives an outdoor counter a solid, heat proof surface that handles hot pans without worry. Pour it in a simple wood mold, cure it for several days, and seal it well against stains. The finished top looks far more expensive than the bags of mix behind it.
Hanging Utensil Rail
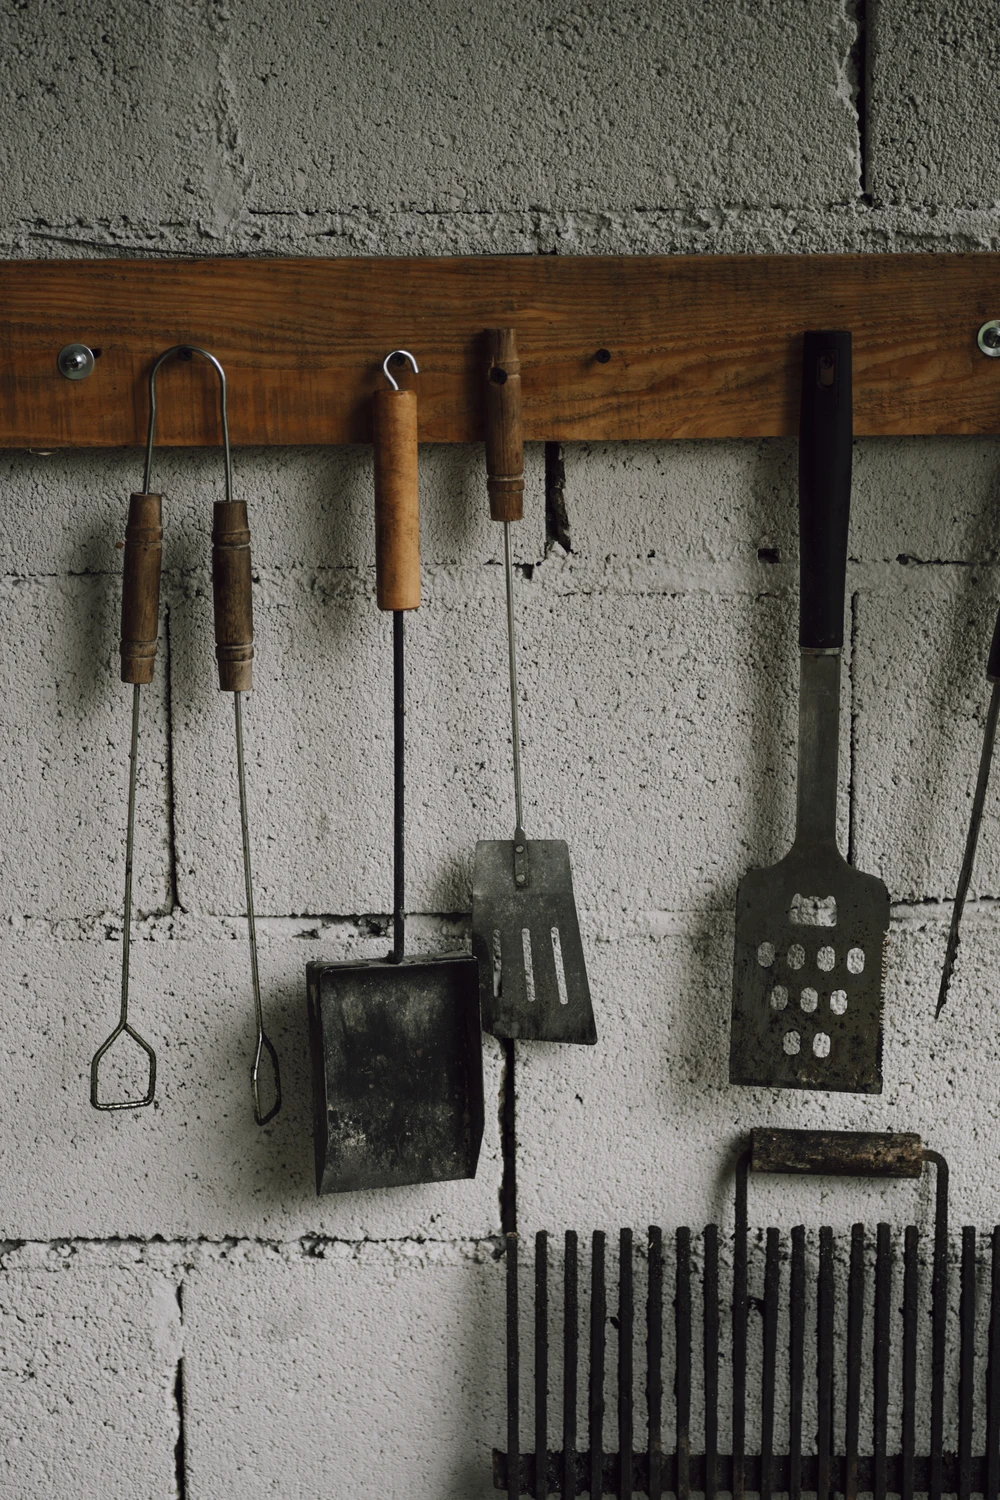
DO:
- Mount the rail within arm’s reach of the grill, but clear of direct flame.
- Hang only heat safe tools, and keep a small pot for spatulas and brushes.
- Wipe tools after cooking so grease never builds up on the rail.
DON’T:
- Don’t overload one hook, since falling tools break handles and chip patios.
- Don’t hang anything sharp at child height.
- Don’t skip sealing a wood rail, or rain will warp it fast.
A rail keeps every tool visible and close, which means less hunting through drawers mid cook. Cooks work faster, food burns less often, and the whole station looks tidy in photos. The rail costs little, installs in minutes, and earns its keep at every single cookout.
Stock Tank Sink
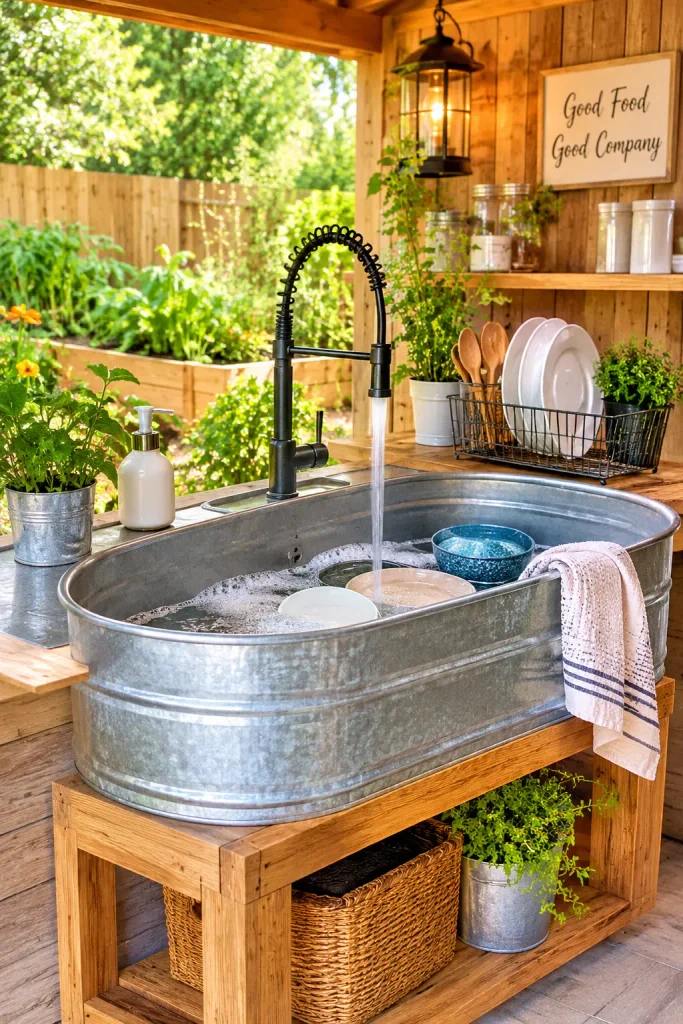
Cost: Around 60 dollars for a small tank, a drain kit, and a hose hookup.
Time: Half a day including sealing and testing for leaks.
Skill Level: Intermediate, since plumbing a drain takes care.
Best For: Big yards and frequent hosts who wash up outside.
A stock tank sink ends the endless trips inside with armloads of dirty dishes. Rinse platters right at the cook station, drain gray water onto a garden bed where rules allow, and wipe the tank dry after use. Guests notice the setup, and hosts notice how much easier cleanup feels.
Brick Grill Surround
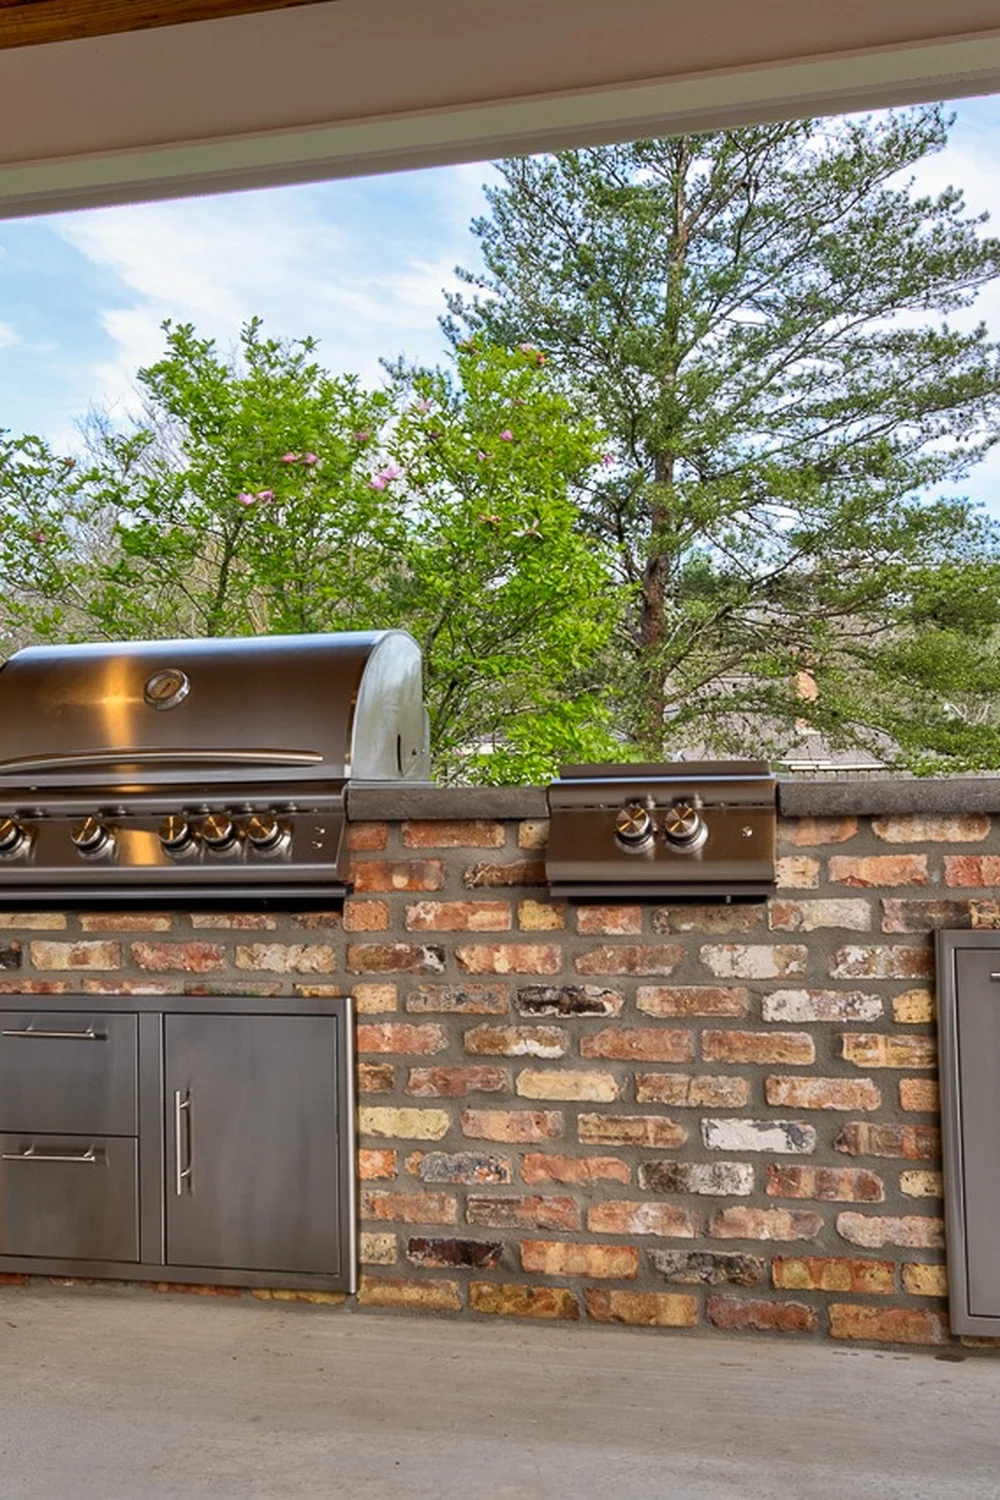
Loose bricks stacked around a basic grill give the cooking corner a built in look for the price of salvaged masonry. Leave gaps at the back for airflow, and keep the stack low so the grill lid still opens fully. A flat cap stone across the top adds a shelf for sauces and plates.
Mortar is optional, since dry stacking lets you change the shape whenever the yard layout changes. Brush ash off the bricks after each cookout, and restack any piece that shifts. The surround frames the grill like a hearth, which makes simple burgers feel like an occasion.
Outdoor Pantry Shelves
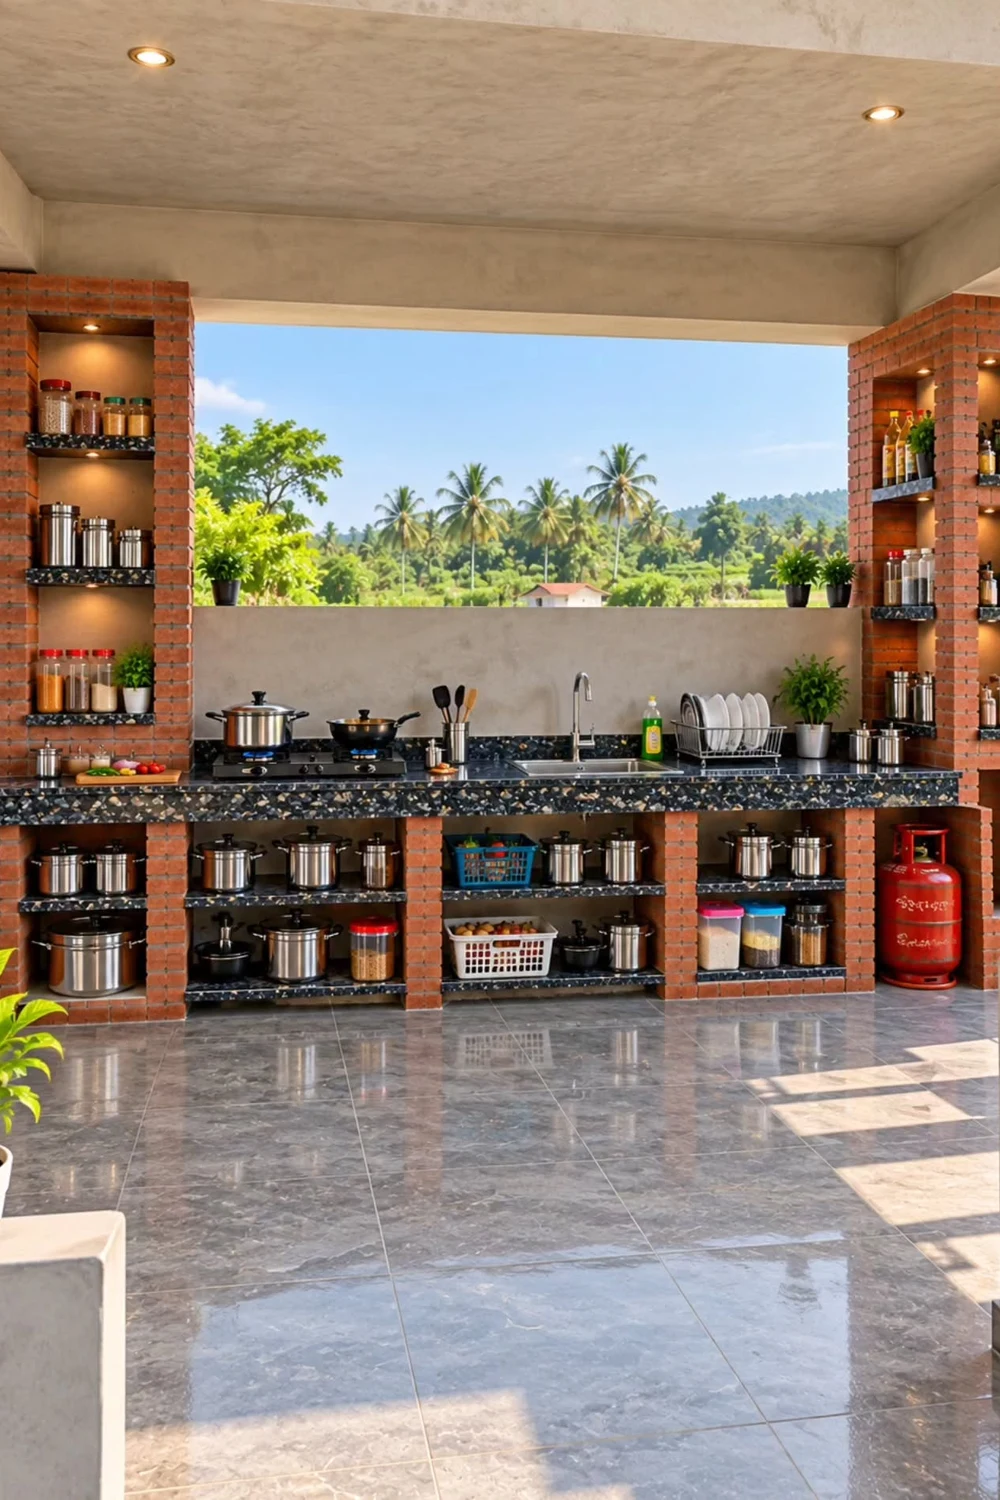
- Fix sturdy brackets into wall studs or fence posts so shelves hold real weight.
- Use sealed wood or metal shelves that shrug off rain and humidity.
- Store dry goods in lidded jars to keep bugs and damp air out.
- Keep everyday items at eye level and heavy pots low.
Pantry shelves near the grill cut the constant walk back inside for oil, spices, and plates. Everything stays visible, so cooks grab what they need without digging through cabinets. Cover the shelves with a small awning or a grill cover in storm season, and the setup lasts for years.
Solar Path Lighting
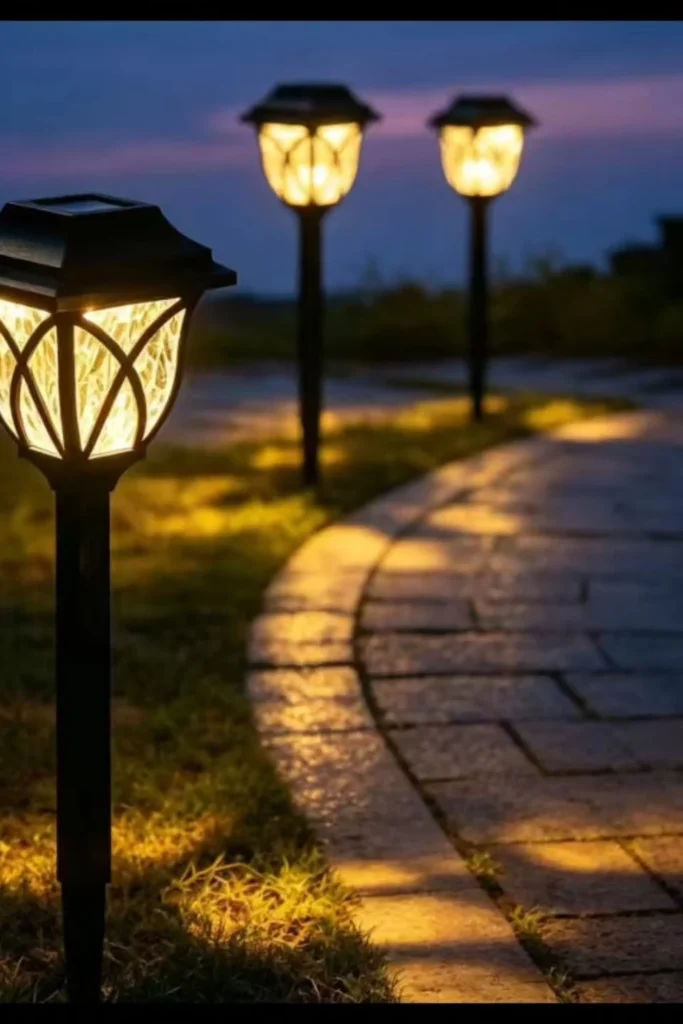
Quick Tip: Place solar lights where they charge in full sun for at least six hours, and wipe the panels once a month. Clean panels charge faster, which means brighter light long after dark.
Lit paths keep guests safe after sunset and guide them from the grill to the table without stumbling. Solar lights need no wiring, cost almost nothing to run, and switch on by themselves at dusk. Space them a few feet apart along walkways, and the yard glows softly all evening.
Weatherproof Storage Bench
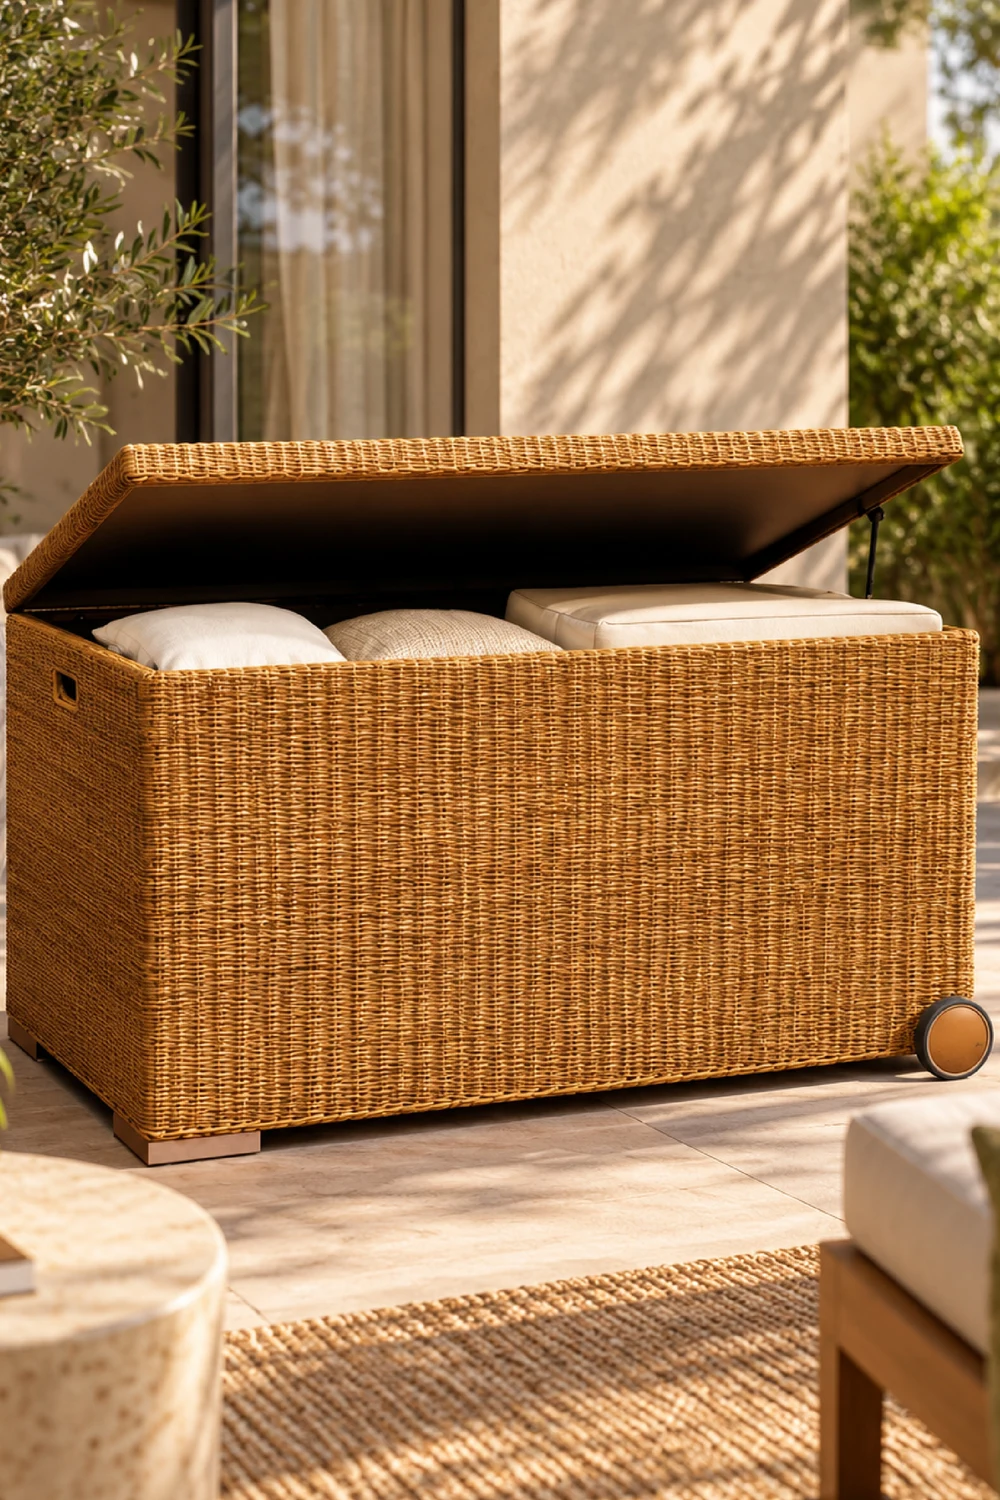
BEFORE: Cushions, tools, and grill covers used to pile up in the garage, and fetching them meant leaving guests alone mid cookout. Rain ruined anything left outside, so the patio always looked half finished.
AFTER: A storage bench by the dining table holds cushions, tools, and covers in one dry spot, with a lid that doubles as extra seating. Hosts grab what they need in seconds, and the patio stays tidy even when a shower passes through.
Build the bench from exterior rated wood or resin, and add a gasket under the lid to block driven rain. Drill two small drain holes in the base so trapped moisture escapes instead of pooling. The bench seats guests, hides clutter, and earns its place beside the table.
Citrus Tree Corner
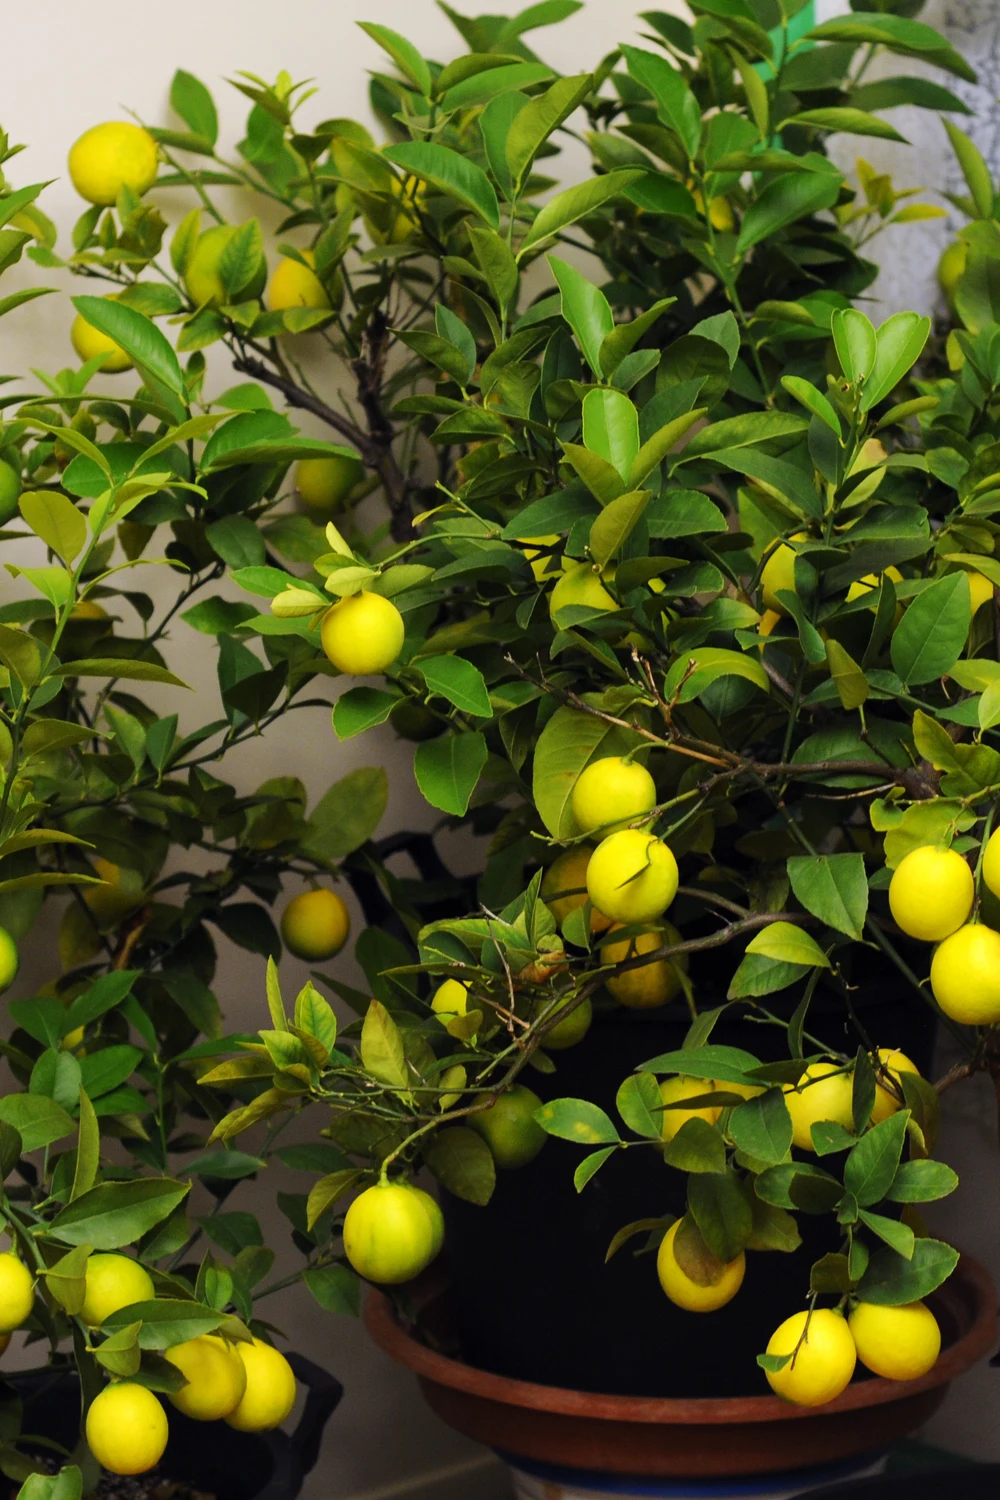
- Pick a sunny corner sheltered from strong wind, and plant the tree in a large pot with drainage holes.
- Water deeply when the top soil feels dry, and feed with citrus fertilizer through the warm months.
- Prune lightly each spring to keep the shape open and the fruit within reach.
- Roll the pot indoors or under cover before the first frost in cold regions.
A citrus tree adds scent, shade, and fresh lemons steps from the grill, which lifts marinades and drinks alike. Guests love picking a lemon for their own glass, and the tree looks good even when it carries no fruit. One healthy tree can supply a whole summer of cookouts.
Butcher Block Counter
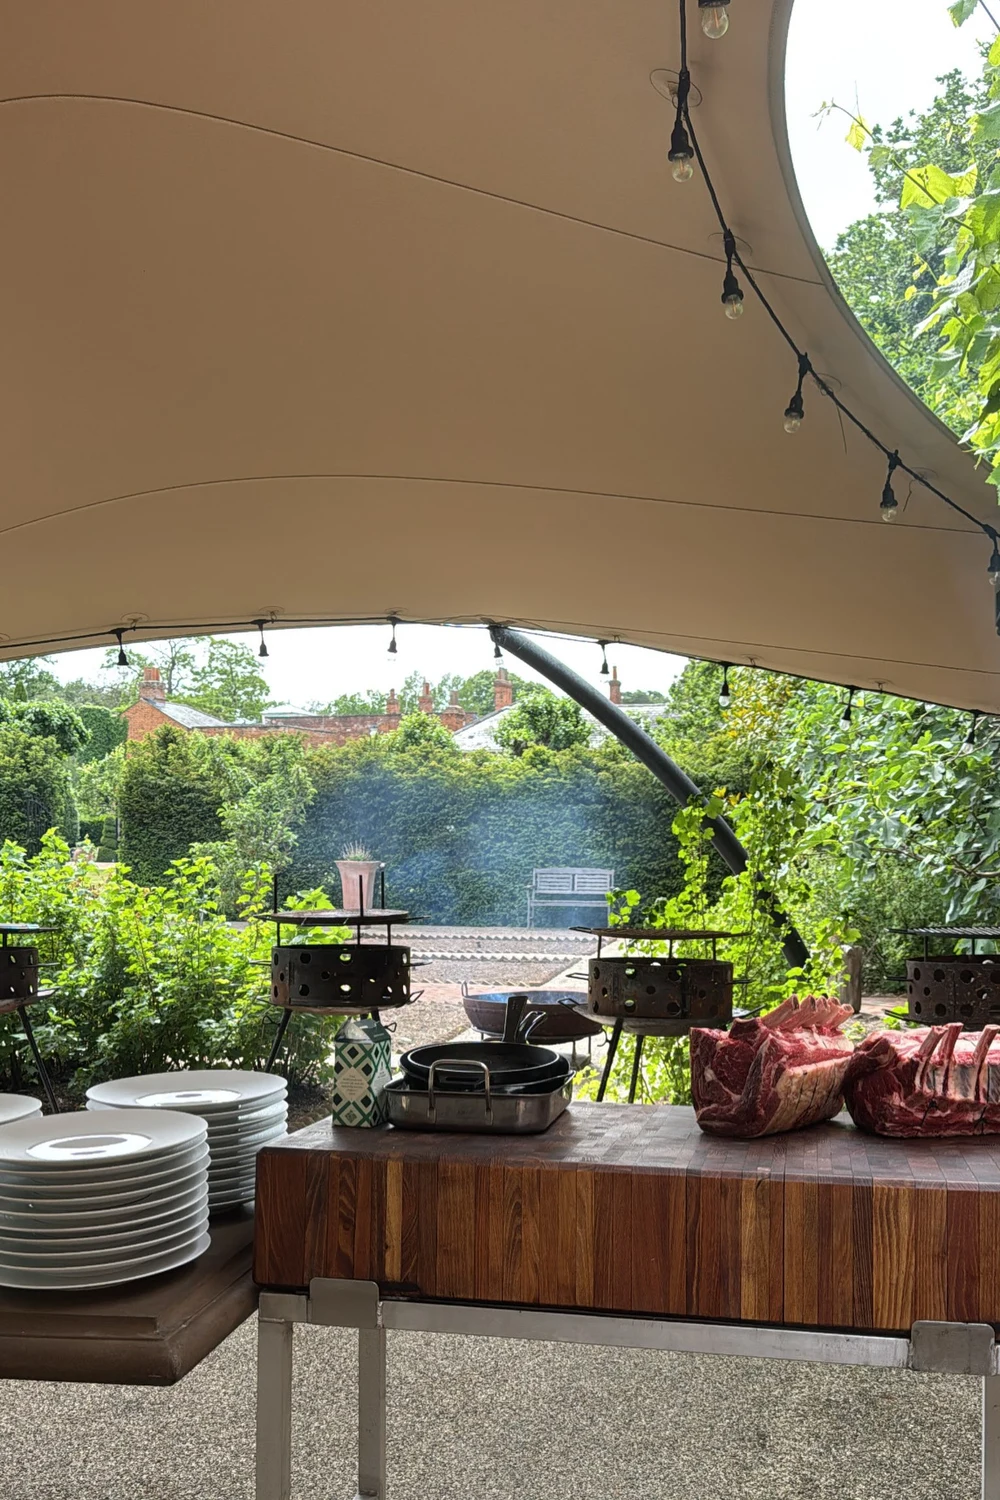
| Feature | Butcher block | Stainless top |
|---|---|---|
| Cost | Medium | Higher |
| Feel | Warm and natural | Cool and clinical |
| Care | Oil regularly | Wipe and go |
| Heat tolerance | Needs trivets | Handles hot pans |
Butcher block brings warmth to an outdoor counter that steel never quite matches, and it forgives knife marks with a quick sanding. Oil the surface monthly through the cooking season, and keep it under cover during long wet spells. The wood ages gracefully, gaining character with every summer of use.
Mosquito Net Drapes
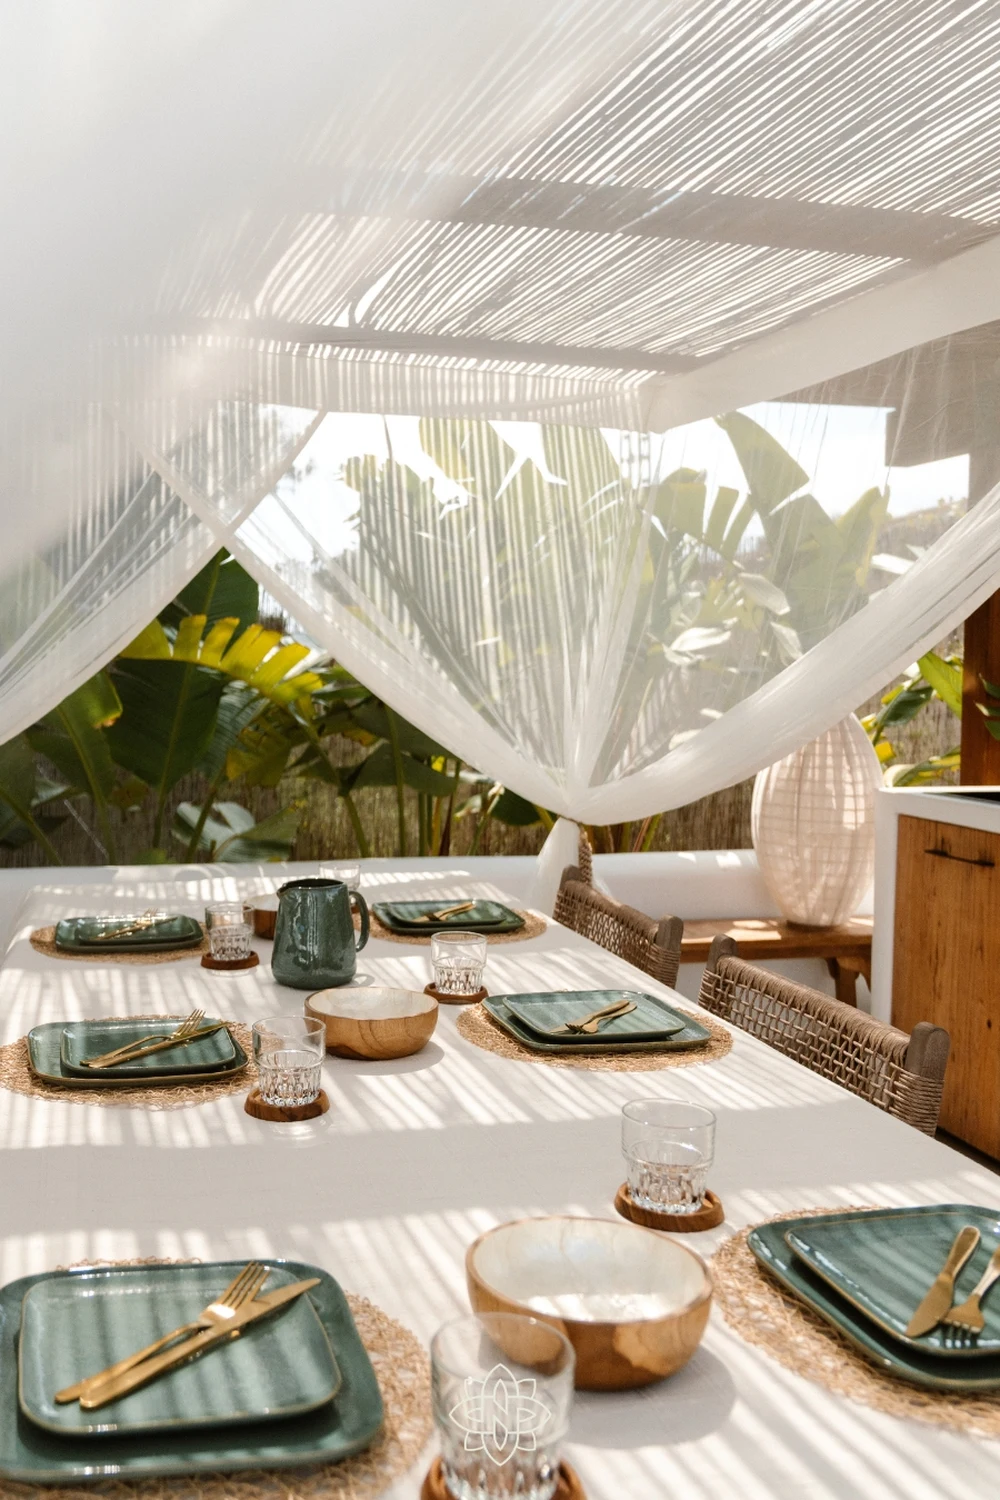
DO:
- Hang nets from a pergola frame or a simple wire ring above the table.
- Weight the bottom edges so wind cannot blow the nets into food.
- Wash the nets at season’s end so they stay fresh for next year.
DON’T:
- Don’t let nets hang near open flames or the grill.
- Don’t use heavy fabric that blocks the evening breeze.
- Don’t leave nets up through storms, since tangled mesh tears fast.
Net drapes let guests enjoy long dinners without swatting through dessert, which keeps everyone at the table longer. The soft fabric also adds a breezy, romantic feel to the dining corner for very little money. Take them down after each gathering, and they will serve many summers.
Vintage Table Setting
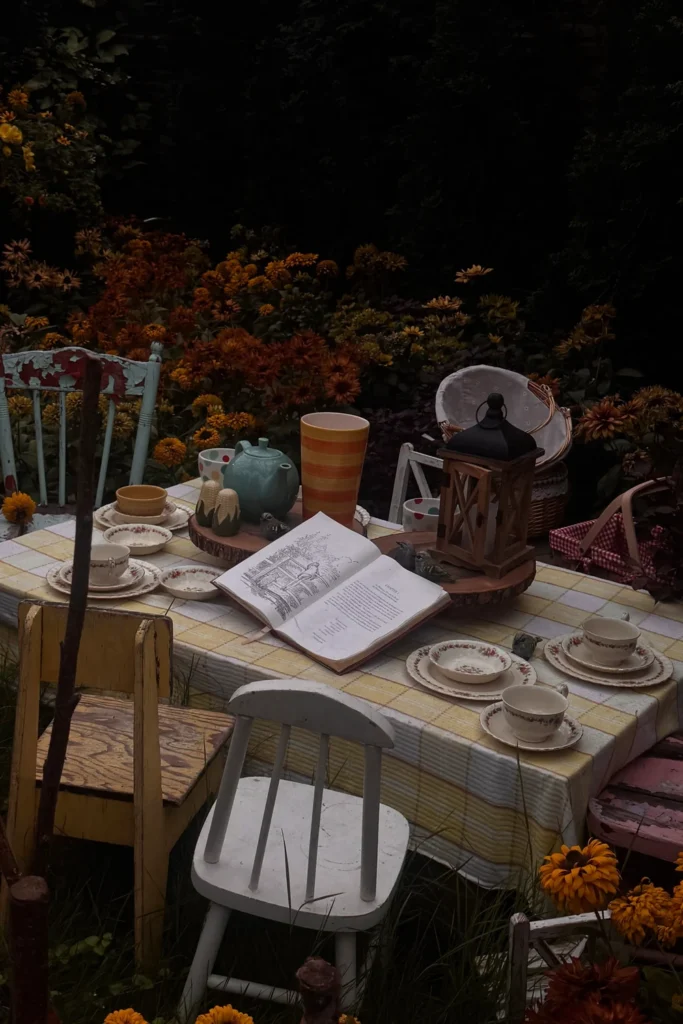
Cost: Under 50 dollars using thrifted plates, jars, and cloth napkins.
Time: About 30 minutes to set a full table.
Skill Level: Easy, no crafting skill needed.
Best For: Casual dinners and photo friendly gatherings.
Mismatched vintage plates and glass jars turn a simple grill dinner into a table worth photographing. Mix patterns freely, since the charm comes from pieces that do not match. Add cloth napkins and a few candles, and guests feel fussed over without the host spending much at all.
Conclusion
These affordable outdoor kitchen ideas show that a cook space comes from smart choices, not big spending. Start with one project that fits your yard and your budget, then add a second piece when you are ready. Save this article on Pinterest so the ideas are waiting for your next cookout, try the projects that excite you most, and share your setup with friends who love cookouts too. In my experience, the simplest setups get used the most, because everything stays easy to reach, easy to clean, and easy to enjoy. Here is to many evenings, full plates, and good company outside.